In my last post on patio building, I destroyed the small concrete step that was interfering with my grand plans. Now it’s time to prepare for the actual construction of the patio. The first thing I had to do was get rid of the concrete rubble where the step was and fill it in with something to make a surface level with the concrete slab.
The typical way to build a paver patio is to put down a thick gravel layer with packed sand on top of it, so I figured that’s what I should do for my busted-up step area. I used as much of my crushed concrete as possible: it seemed silly to remove all the concrete gravel that I had just made so that I could fill it back in with… more gravel. On top of the gravel base, I dumped several bags of “Paver base sand” from Home Depot. This is just sand with some gravel mixed in.
For a full-sized patio with this gravel+sand base, you rent a plate compactor to make the base as firm as possible, but it seemed a bit impractical to rent a massive machine that I would need multiple people to help with, just to compact a 4 foot by 8 foot area. So Instead I opted to get a hand tamper and just go to town. The hand tamper is just a square metal plate on a wooden handle, and you use it to pound the sand flat. It works, but it is surprisingly tiring. Here’s what my mostly-compacted area looked like: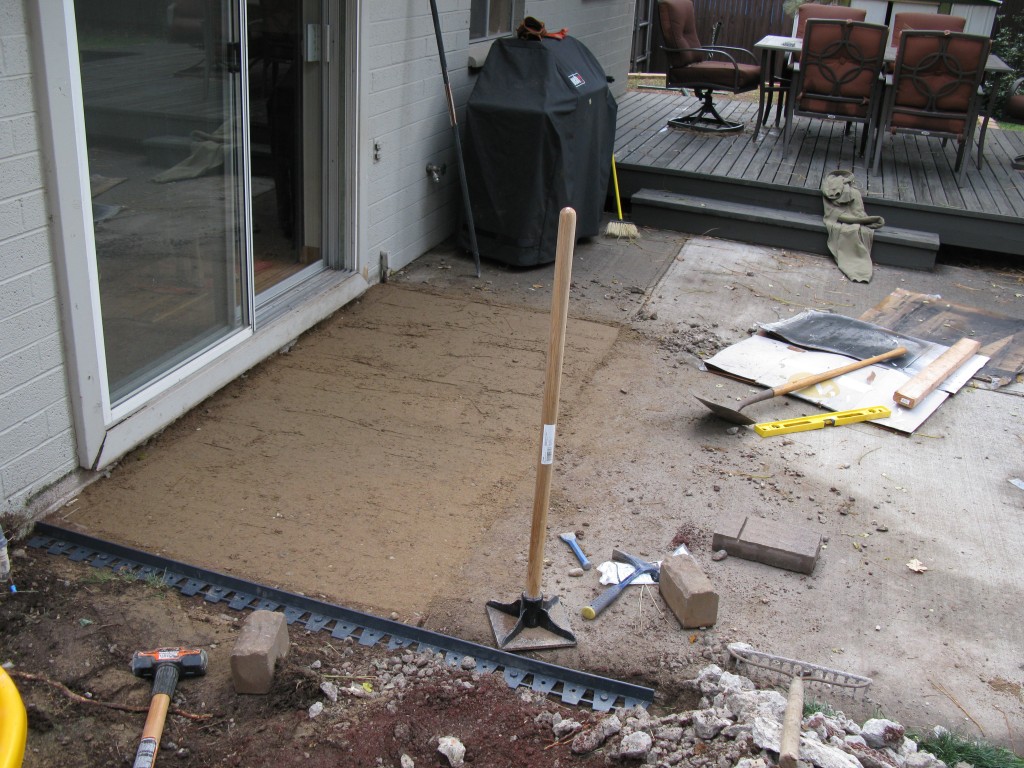
You might notice the stylish plastic edging material in the foreground of this photo. This is what is used to keep the bricks in place on a normal patio, and I thought I would need it too. But as you’ll see it turns out this just got in the way of my edge blocks.
With the step area filled in, it was time to do some planning. For a cement slab base, the consensus on the internet seemed to be that you glue down the border with thick pavers and then choose a thinner type of paver for the middle area. The difference in height is to allow for a layer of sand on top of the slab: this is there to help seat the pavers firmly and to squeeze up between them, locking them into place. We decided to use Rumblestone pavers for the border and Domino pavers for the main area of the patio.
I spent a really long time playing around in GIMP (a free photoshop-like tool) to figure out exactly how many bricks of each type I would need. The goal was to (a) not buy too much, and (b) minimize the amount of brick-cutting. I ended up cheating a bit by allowing the edge bricks to hang over the edge of the slab slightly. This made it so that the only cutting I had to do was one row of the domino pavers along the wall of the house. There is also a light pole in one corner of the patio that required a simple cut.

With my plan in place, I calculated how much additional sand I would need, and then took yet another trip to Home Depot, where I ordered a whole lot of bricks and sand. When buying supplies for such a big project, you get to saunter up to the “contractors checkout” area as if you know what you’re doing. The guys there helped place the order but it turned out that they didn’t have all the bricks I needed in stock so it was going to be a few days before I could make much more progress.
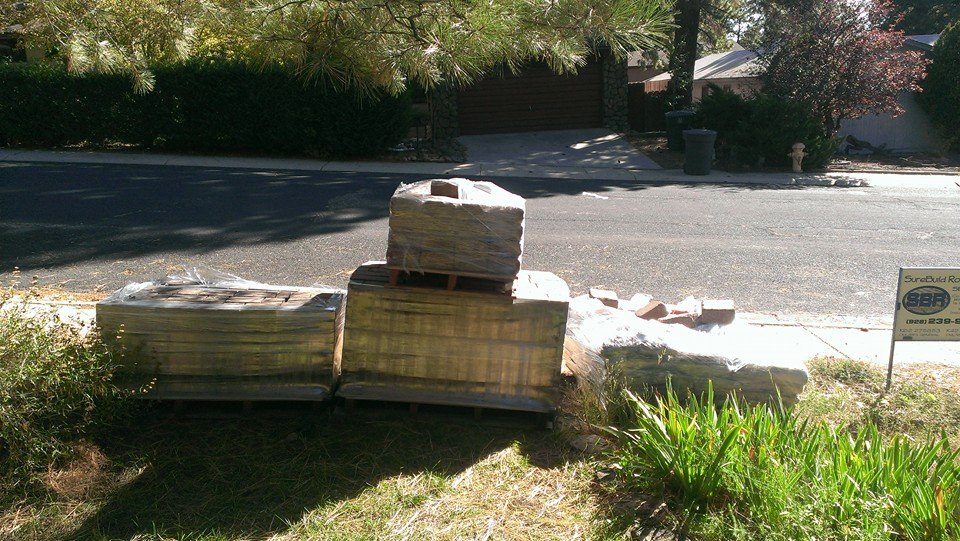
Finally, the bricks and sand came in! The truck arrives with a forklift, so they can maneuver the pallets of supplies as close to the area you’re working as possible. Unfortunately tree branches prevented the forklift from getting much beyond the sidewalk…
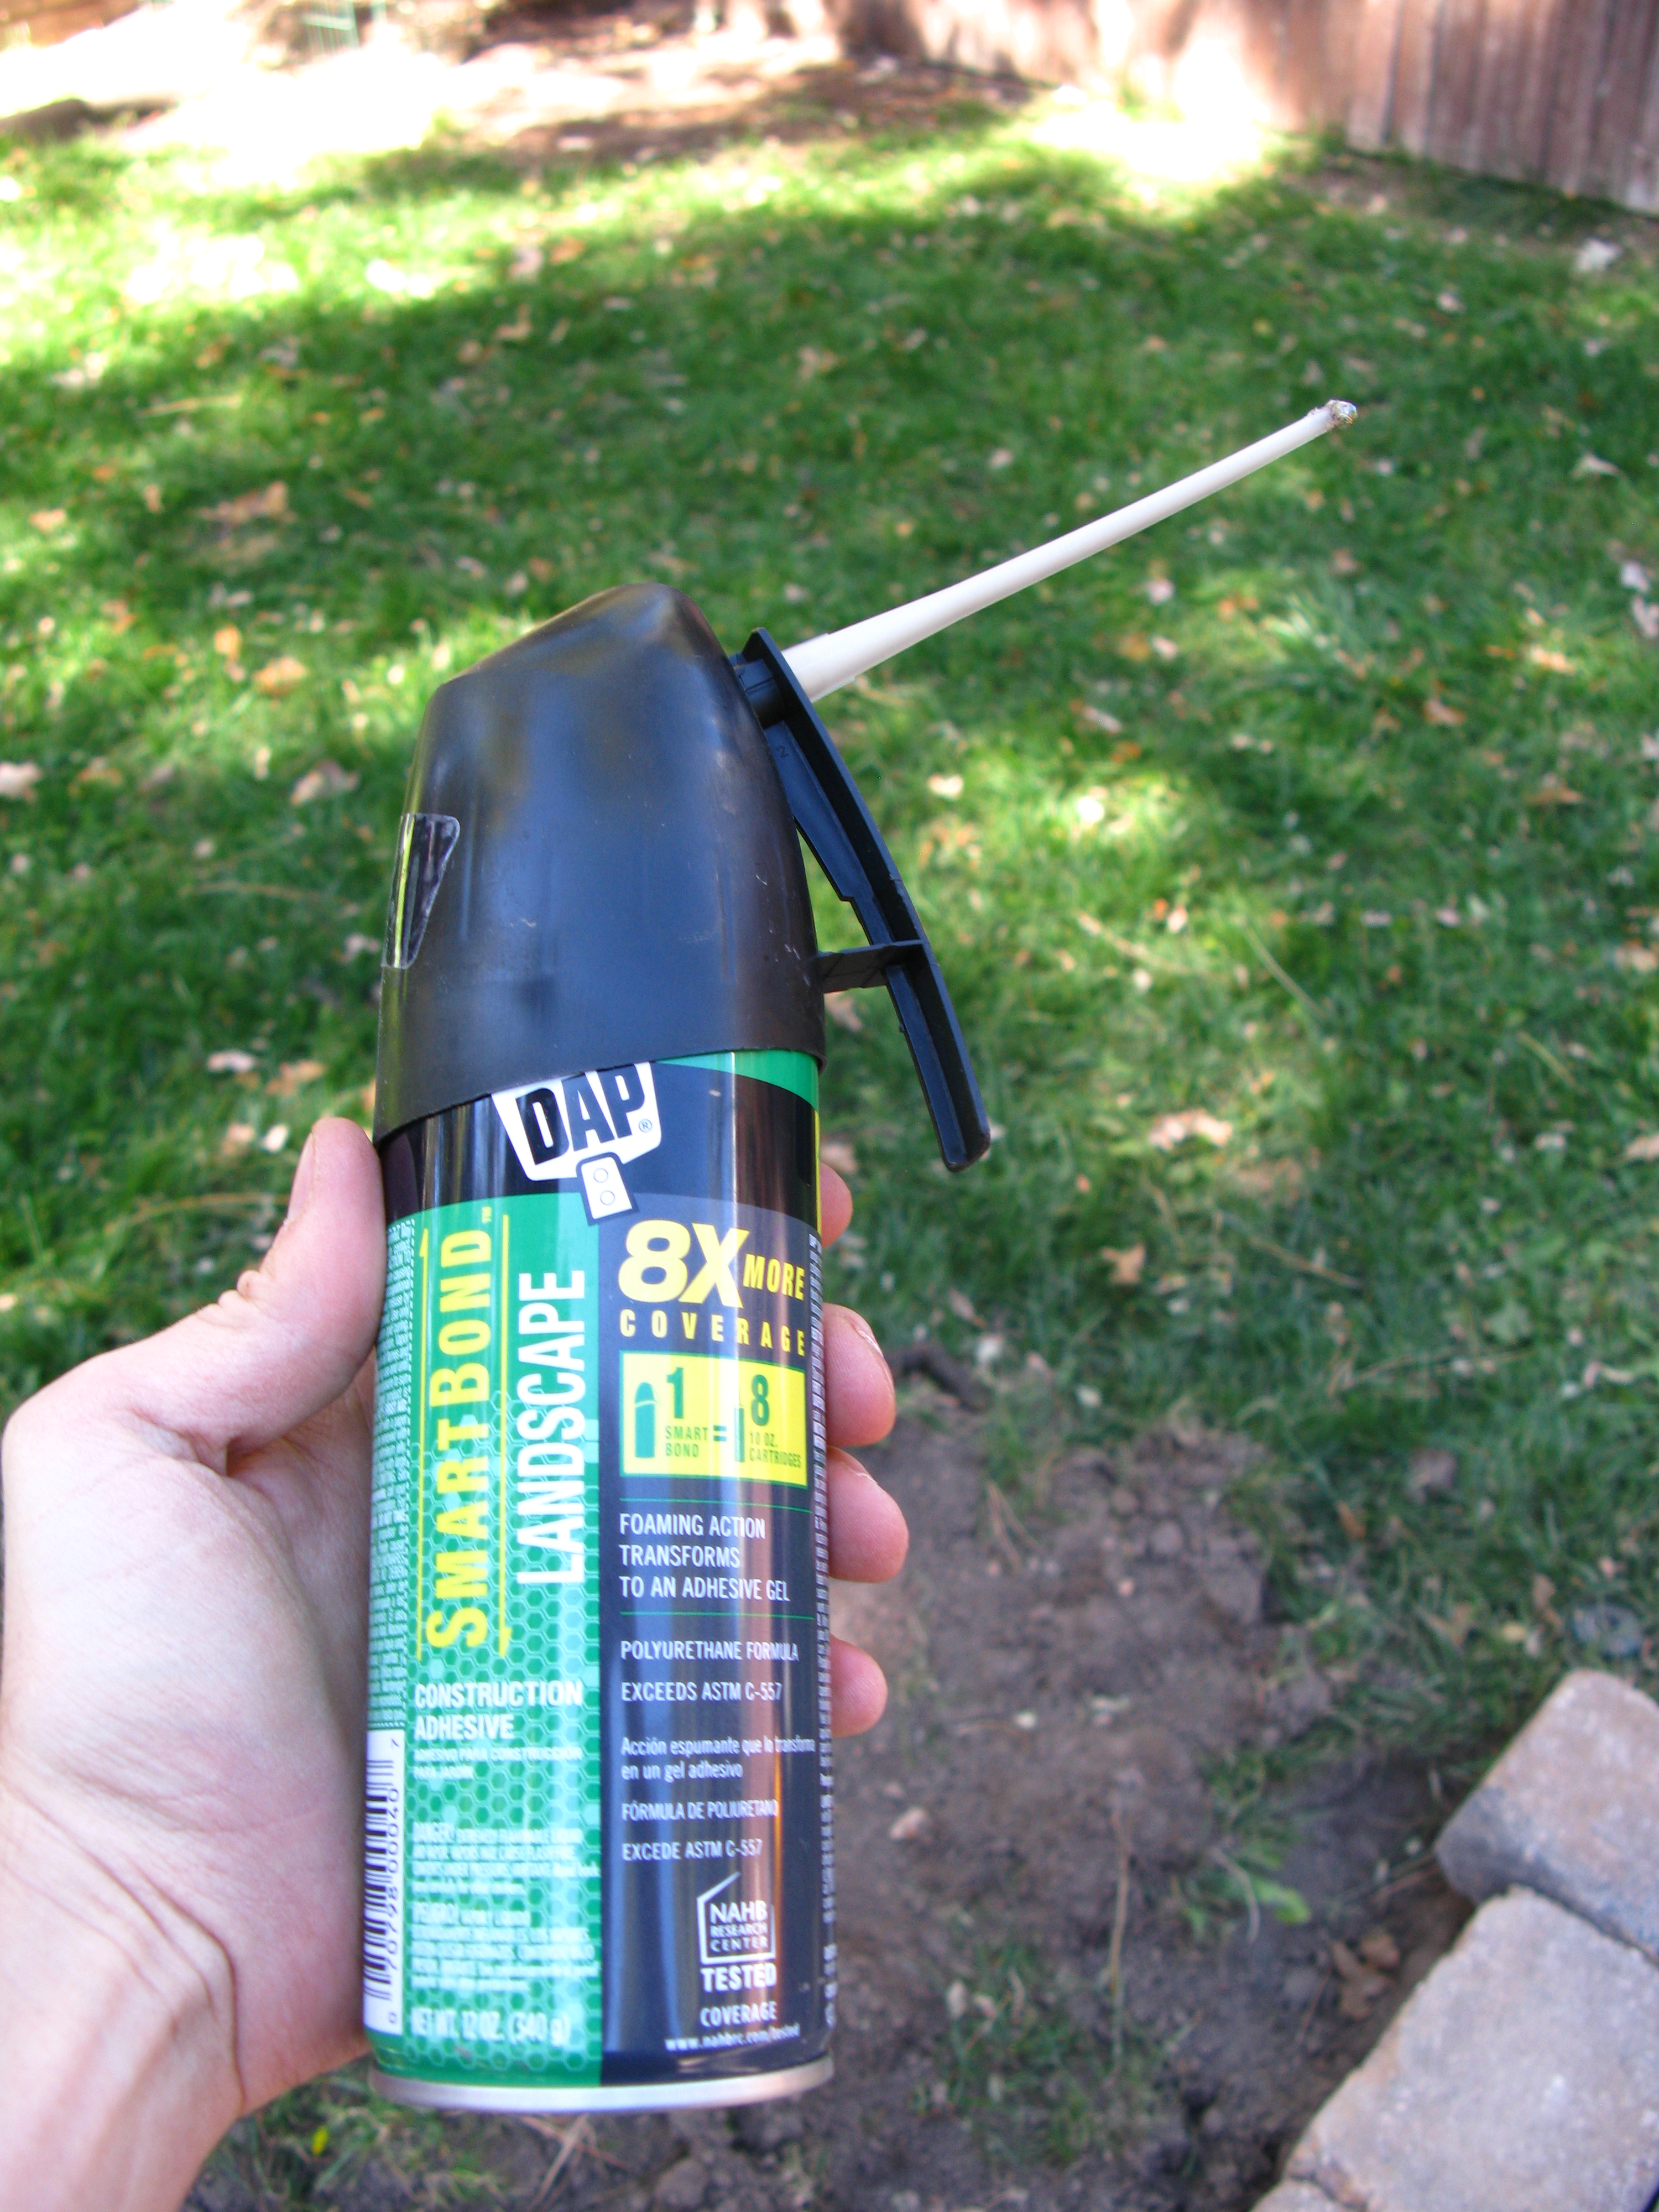
To secure the border bricks, I had originally been planning to use normal construction adhesive that you apply with a caulk gun, but I found this weird stuff that comes in a can that claims to be equivalent to eight tubes of the normal stuff. It worked out to be cheaper so I figured I would give it a try.
I used a stiff-bristled brush to scrub the cement slab clean before applying the adhesive and sticking the border bricks down. It takes a while for the adhesive to set, and the edge of our concrete slab was slightly sloped to help with runoff, so I had to use other bricks to keep the edge bricks level while the adhesive hardened. Small pebbles placed between the edge bricks and the slab were also useful as shims to make the edge bricks sit level.
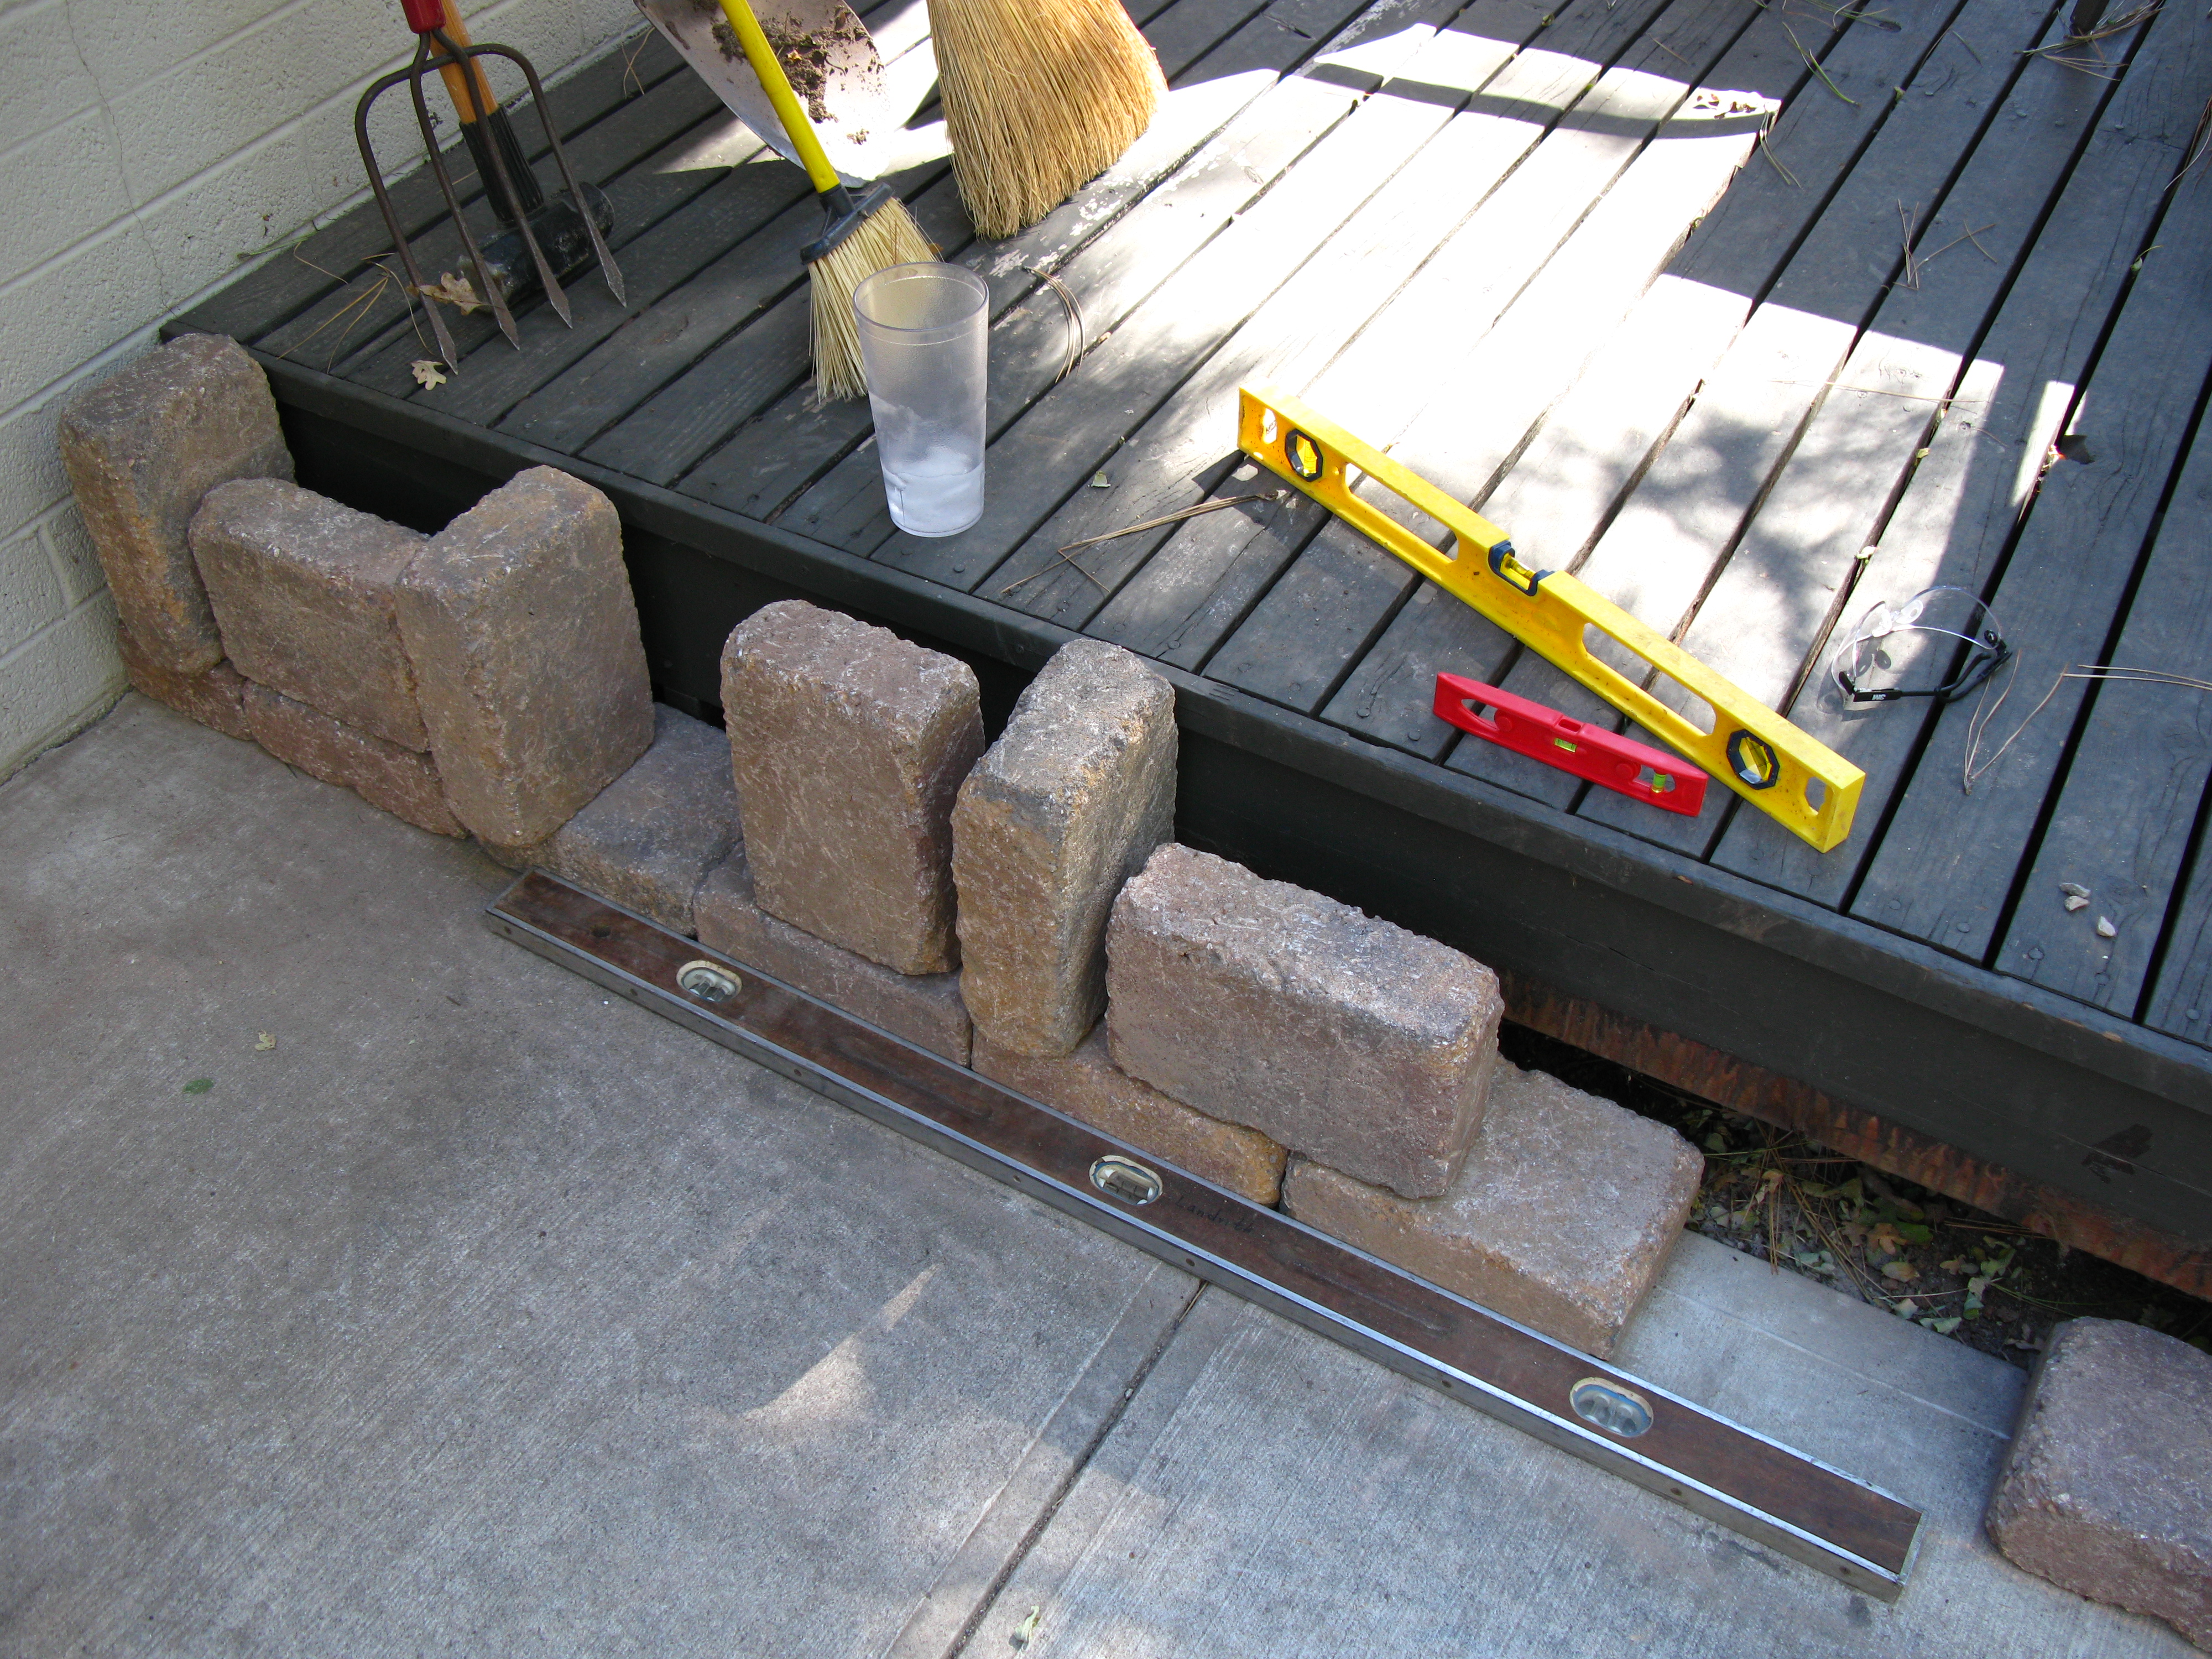
As you can see in the above picture, I used a variety of levels to make sure the edge bricks were level and in a nice straight line. You may also notice that I removed the wooden step from the deck. It was not in great shape anyway, and this again made the patio layout much simpler than it would be working around it.
it ended up being extremely difficult to make the border bricks for a perfect rectangle with straight sides at right angles to each other, even though I was working on an existing slab. I also found that the domino pavers seemed to be a tiny bit shorter than advertised, so when I laid them out there was a little bit of extra room. In the end this turned out not to be a problem (the sand between the pavers helps take up this extra space) but I agonized over it for a while. Finally, I just decided to glue down the edges as well as possible and deal with the consequences. I had to cut the very final brick of the edge to make it all fit, but in the end it looks fine.
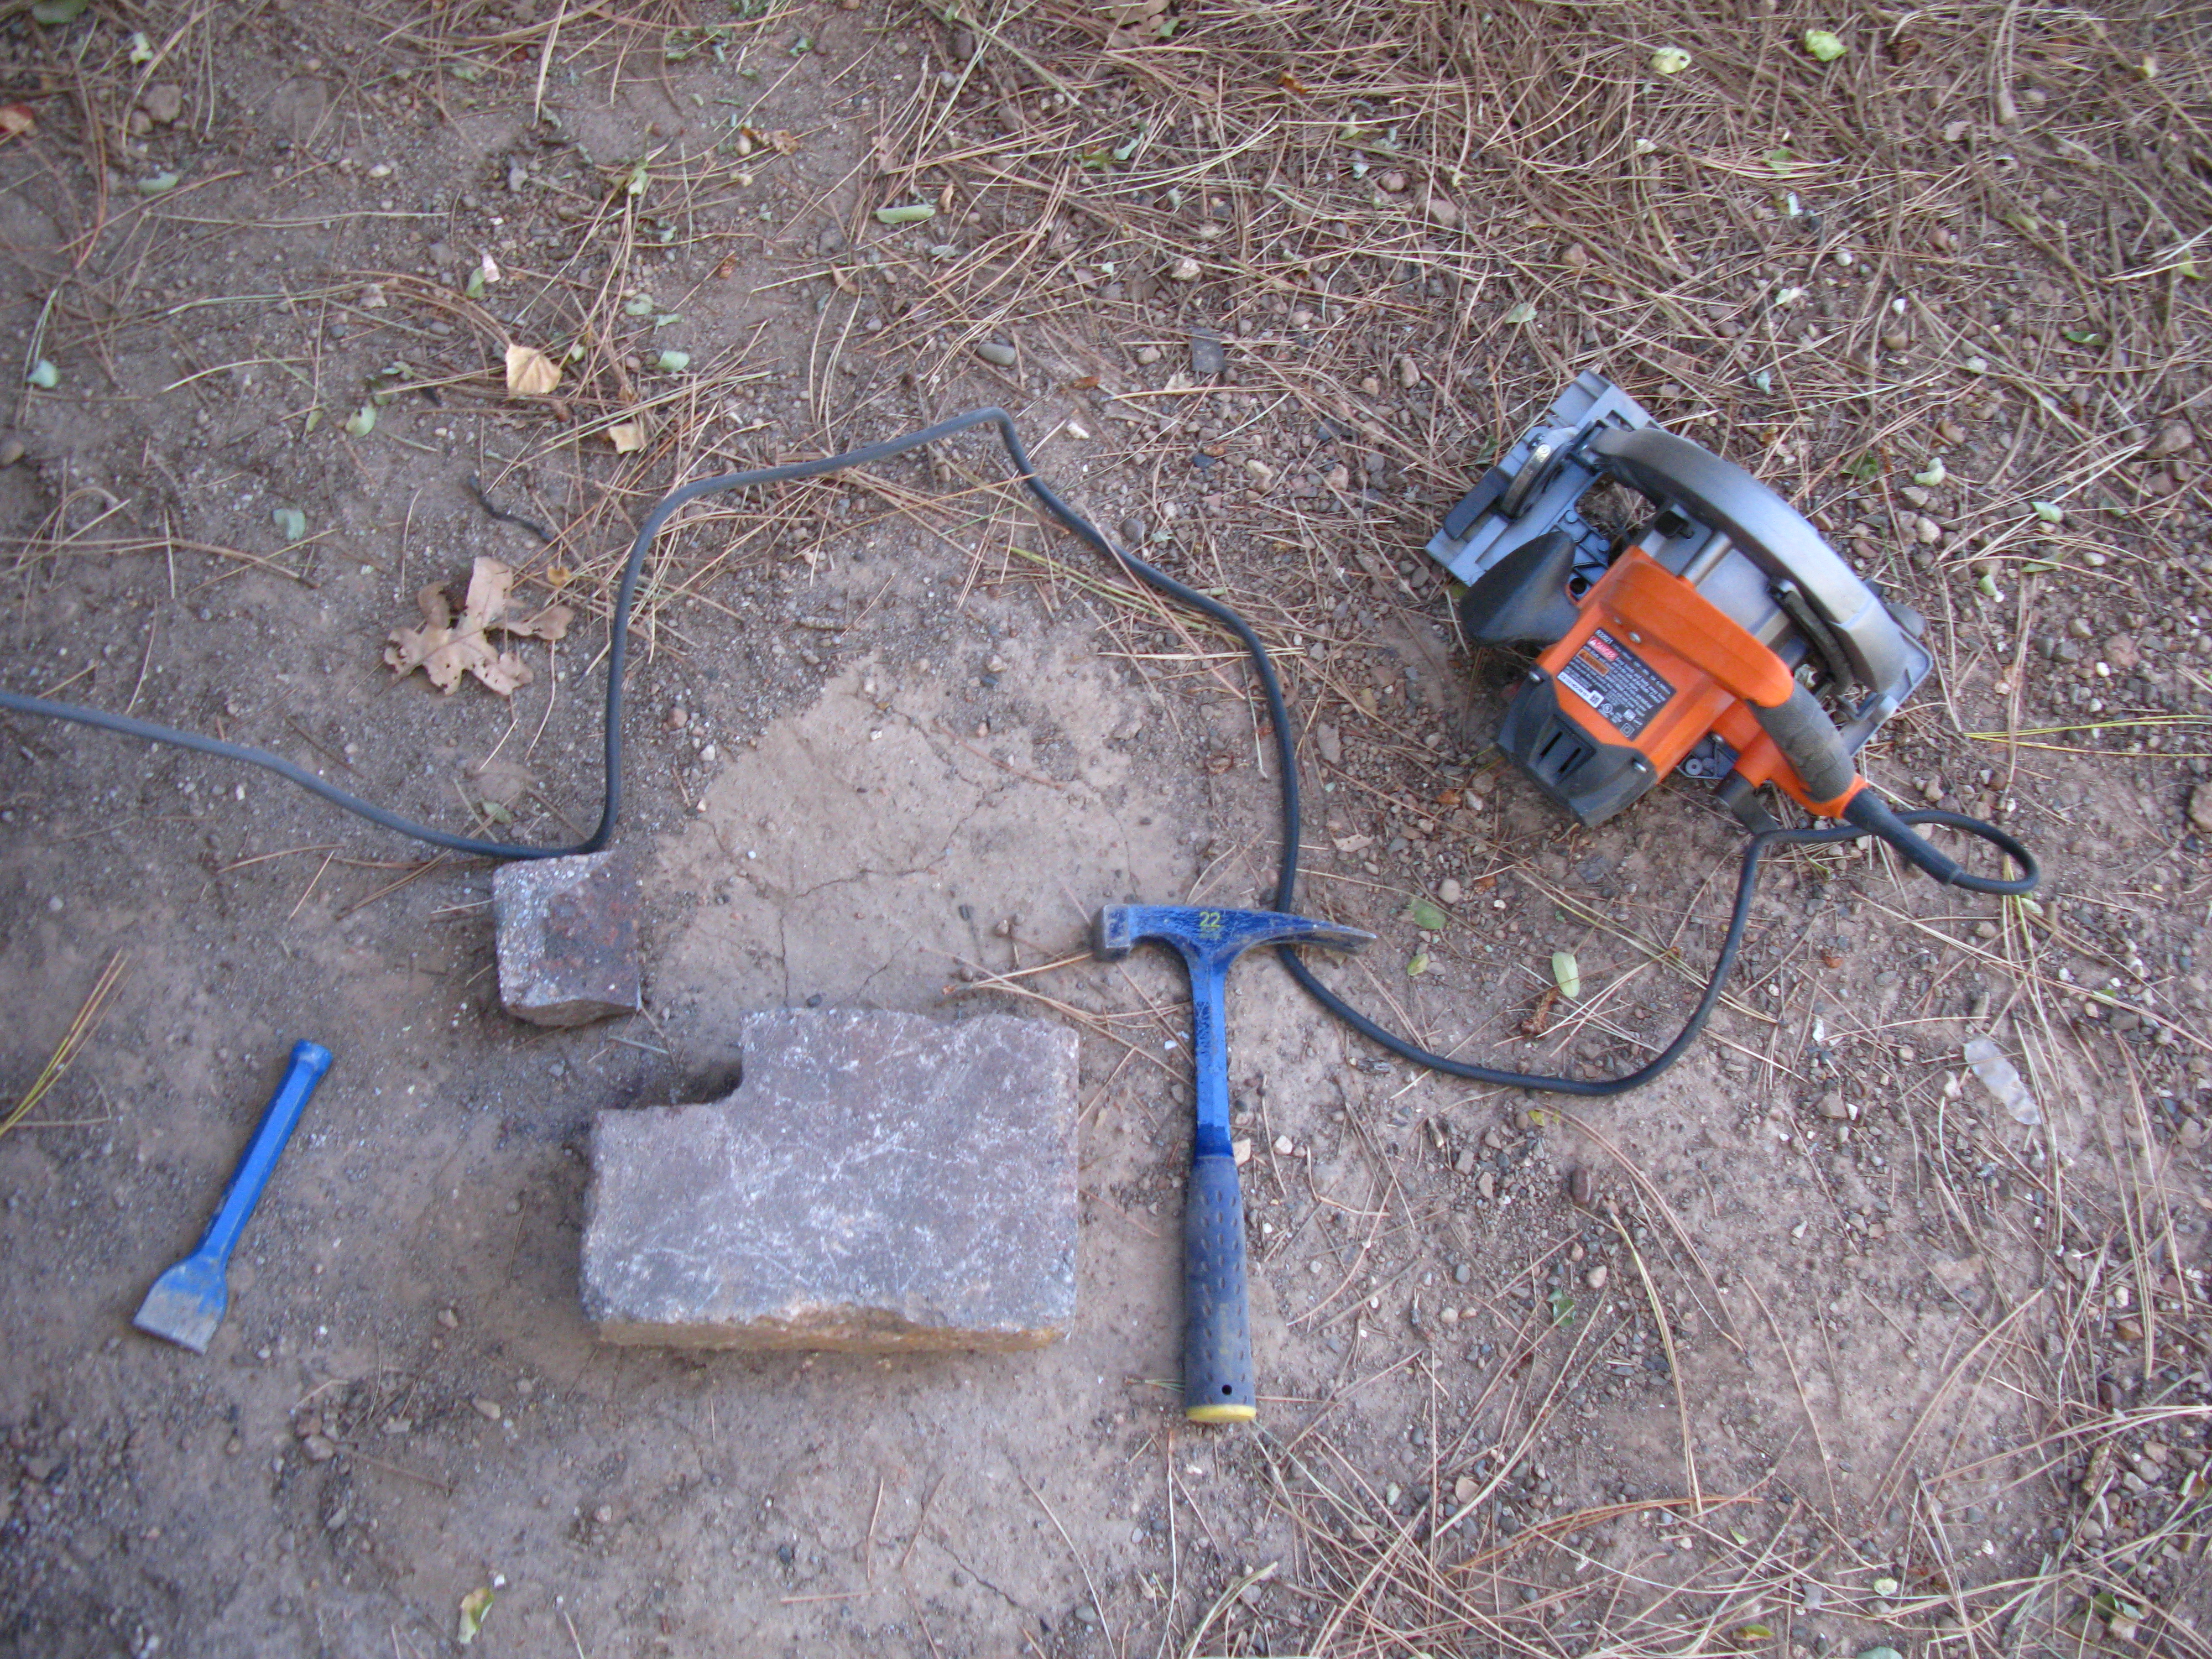
The other cut i had to make for the edge was to deal with a small pipe that sticks out from the wall of the house. I was worried this would make things complicated but it was surprisingly easy to deal with. I just used a masonry blade on my circular saw to cut notches in the brick whose corner I had to remove, and then tapped it with a chisel to finish the job.

That’s all for this episode of patio-building. Stay tuned for the thrilling conclusion!

Leave a Reply