With the border pavers all glued down it was just about time to start the actual laying of bricks. Before you can do this though, you have to add a layer of loose sand. I actually found conflicting advice about this. Some sites said that pavers could be placed directly on top of the cement, but in most cases, they advised half an inch to an inch of sand.
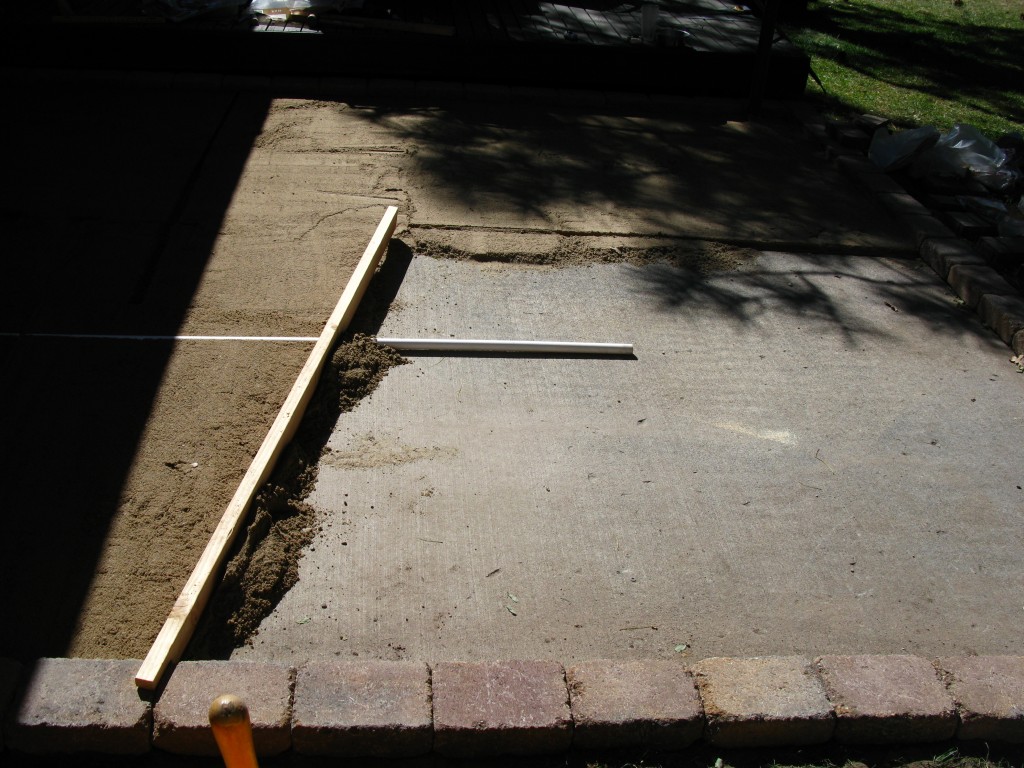
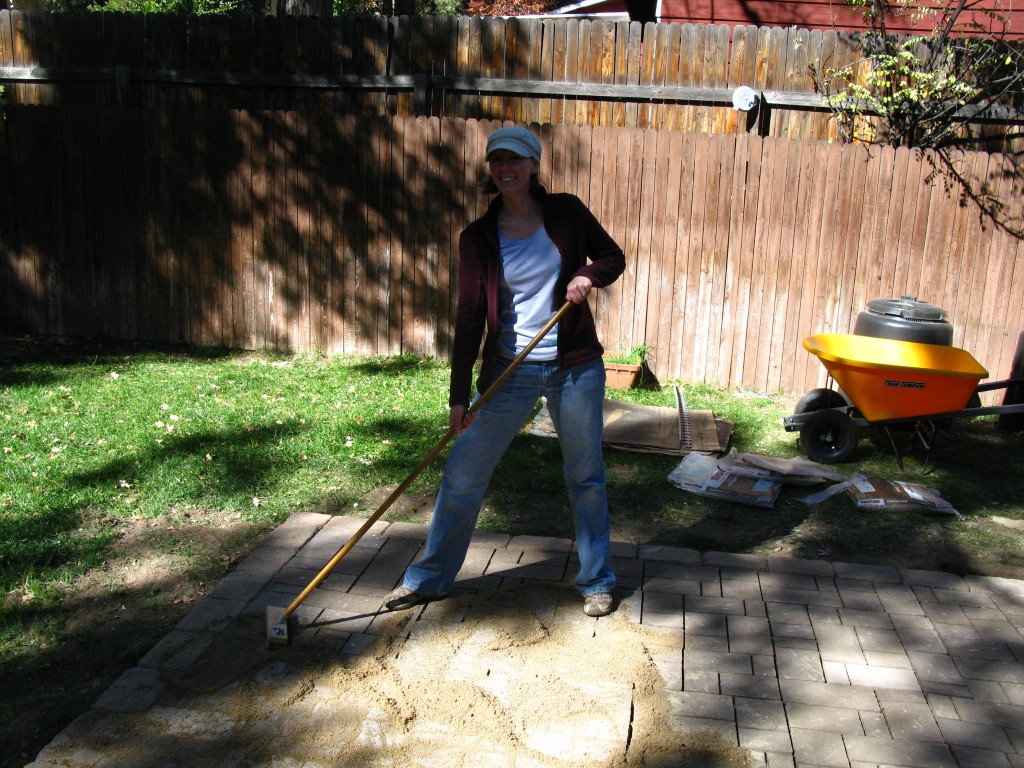
To put down the sand in an even layer, you have to “screed” it, which means use a long straight object to scrape it off to a consistent height. The generally accepted way to do this is to buy a cheap pipe or conduit the thickness of your desired sand layer and place that parallel to the patio border. Then, notch a 2×4 so that part of it can rest on the border bricks, while most of it comes down to the desired height. Now, by dumping your sand bags between the pipe and the border pavers, you can use the 2×4 to screed the sand nice and flat.
Even with the help of the 2×4 and the screed pipe, it was tough to keep the sand evenly thick, but I eventually got there. Note: The first set of directions I read online were unclear about what you do with the screed pipe once you’re done, but I eventually confirmed that you do in fact remove it and fil the gap in with sand.
I ended up having to go buy a bunch more sand to finish off this step of the process (while I was at it, I bought a few more bricks too). My calculations had not accounted for the few bags that I used on the step area to bring it up to be slightly bulged. My philosophy in doing this was that if the step area does end up settling, this way it will settle back down to about the slab level, and if it doesn’t settle, it will still be ok, and might even help divert surface water away from the door (I found mixed information about just how much water percolates through the pavers vs running off the surface. I suspect it will mostly percolate through since I did not use polymeric sand at the end.)
Finally, everything was ready and I could start laying the bricks. I started off with grand plans of following a pattern, but those were quickly dashed. You see, the Domino pavers that we bought come in three varieties, but the pattern I had in mind assumed that there would be equal amounts of each. This turned to not to be so. The first pallet has fewer blank pavers than ones with lines in them, and the second pallet had more blank and less lined. In any case, the pavers we chose are designed to look good when just placed randomly, so that’s what I tried to do.
One word of advice, when placing pavers “randomly”, it’s still easy to end up with ling straight lines formed by the edges of the pavers. Just watch out for these and mix up the orientation of the pavers a bit more to avoid these lines that can draw the eye and don’t look good.
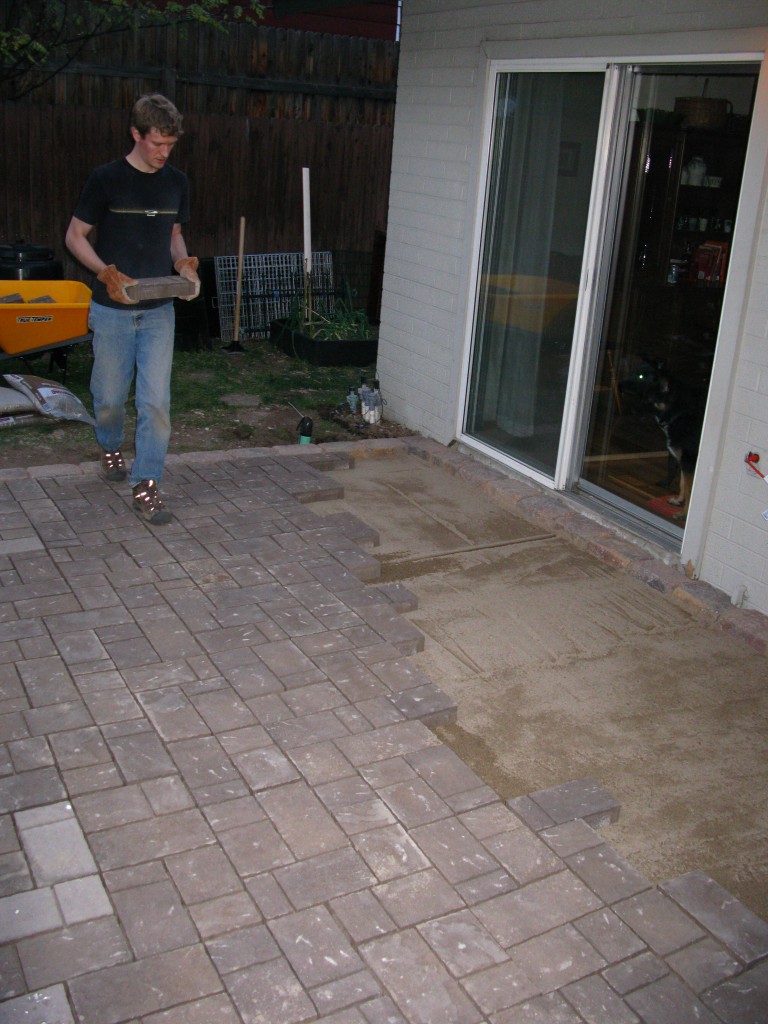
Somehow I thought placing the pavers would go quickly, but with just me working on it, it took all afternoon into the evening. I had to take a break to eat dinner, and then continue for another half an hour to finish things up. Here’s what it looked like the next morning:
You’ll notice that the final row of pavers are not in place. That’s because these are the ones that needed to be cut, and, just my luck, the government shutdown ended and it was time for me to get back to work. The kind where I get to slouch in an office chair all day instead of carrying bricks all day. My muscles were grateful for the rest! We ended up doing the cutting the following saturday.
I didn’t want to rent an expensive diamond bladed, water-cooled masonry saw at Home Depot for such a small number of cuts, so instead I opted to just use masonry blades on my circular saw. it was much slower, but much cheaper. It would have taken forever to cut cleanly through each and every brick, so instead I measured them, then scored each side with the saw and tapped it with the chisel until it broke.
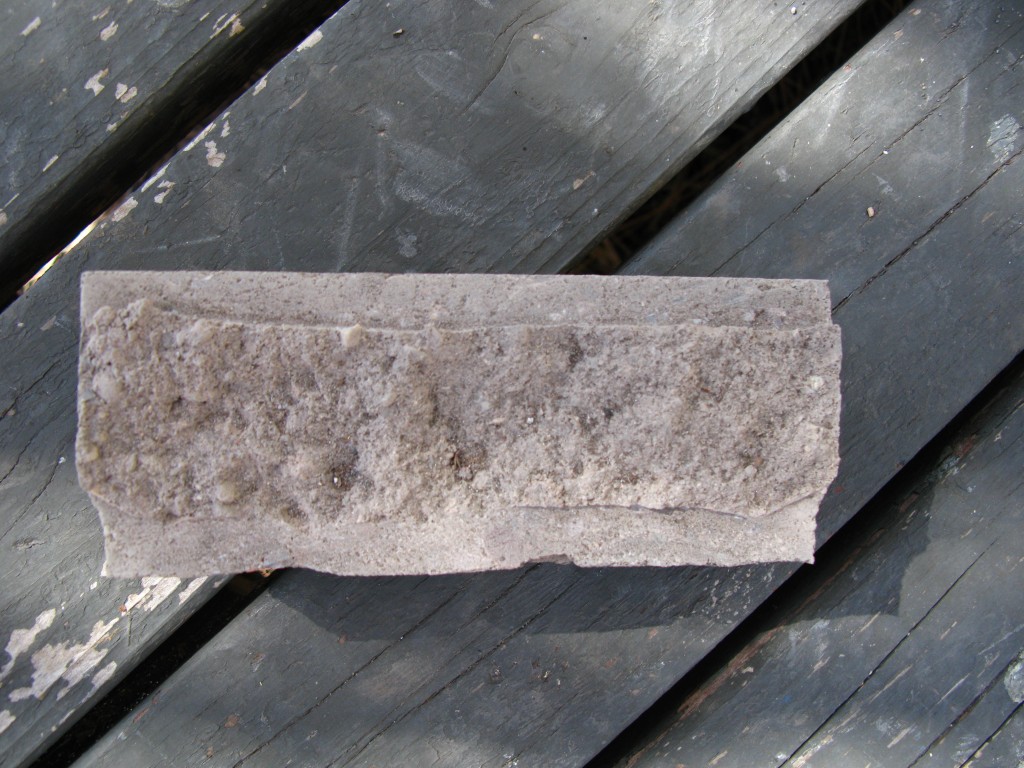
This process took some practice: for a while, when the brick broke, it would leave a knobby bumpy surface sticking out that I had to either saw or chisel off. The good thing about this was that my cut bricks had an extremely tight fit but on the down side, it took a while (in most cases, lots of pounding with the rubber mallet, alternating with chiseling the ragged edge some more, was necessary). The first major lesson that I learned was that it is much better to cut in the short direction along the brick than the long dimension.
“But wait,” you say, “doesn’t that mean that you can’t have any long pieces along the border near the house?” At first I thought so, but then I realized that I can place an uncut brick with the long side along the border, and then put two cut bricks abutting that one. Here’s what I mean:
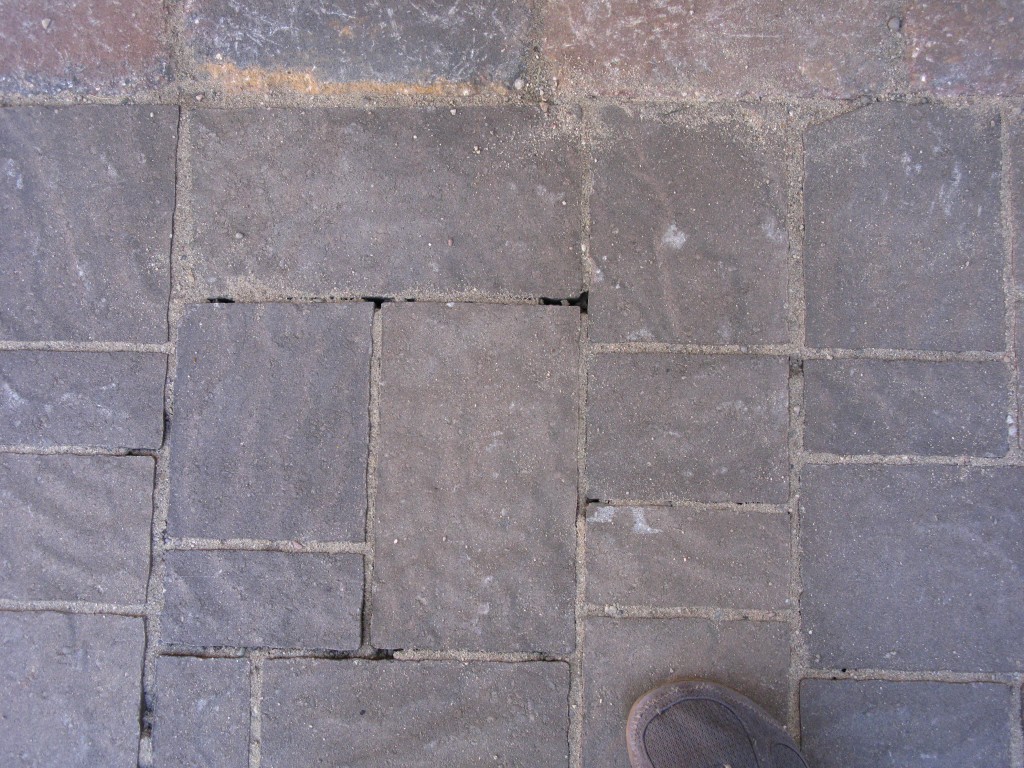
Notice that I didn’t cut the brick that has its long edge along the border. Instead I cut the two bricks that abut this one. (The dark gaps are where our first round of sand has settled in the cracks between bricks.)
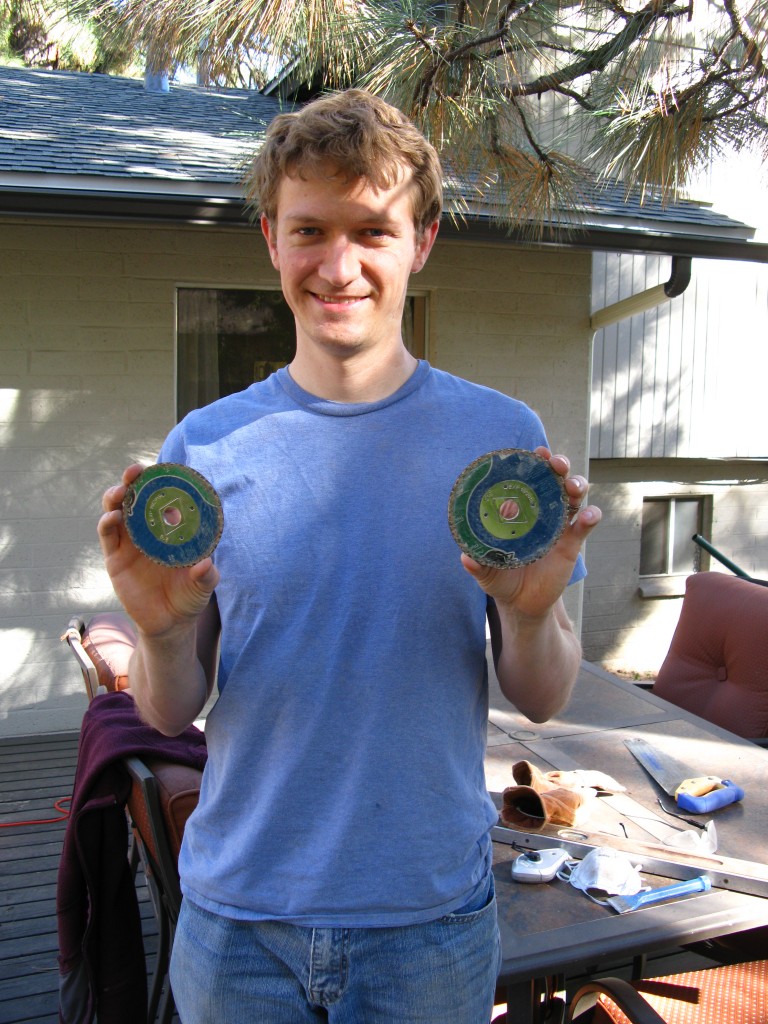
Also, be warned: masonry blades wear out pretty quickly. I went through two and a half blades just cutting the pavers along one edge of the patio, and not even cutting them all the way through. If you have lots of cutting to do, then it’s definitely worth it to rent the proper tool.
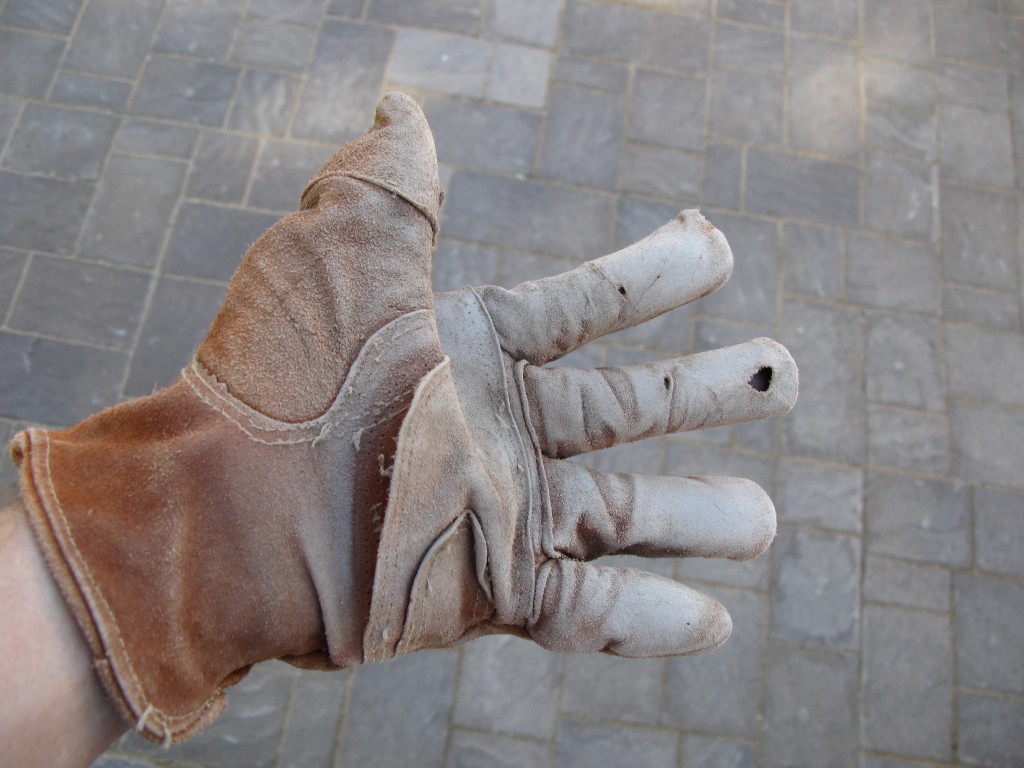
Speaking of wearing things out (other than my poor innocent muscles), I should show you this picture of my gloves. They were basically destroyed by the end of the project so, word to the wise: wear gloves for a project like this, and count on them getting pretty worn out by the end!
It took a long time, but I finally slid the last cut brick into place about 10 minutes before we were expecting guests over for a pumpkin carving party on our deck/patio. While I had been cutting, my wife swept sand into all the joints, beginning the process of locking the bricks in place.
It turned out that we didn’t quite have enough sand to fill in the joints, but it will only take a couple more bags to finish the job.
In theory, the finishing step is to rent a plate compactor and pound the pavers into the underlying sand, and really work the sand into the joints, locking everything in place. We are leaning toward not doing this. The cement slab provides a nice firm footing for the pavers, and the final bags of sand will work their way into the joints with normal use over time. Also, we’re just not keen on renting a giant expensive machine and luring friends over to help us maneuver the thing in and out of the car, probably hurting someone in the process. We might regret skipping this step down the road, and if so I’ll post an update saying so, but for now we will risk going without it.
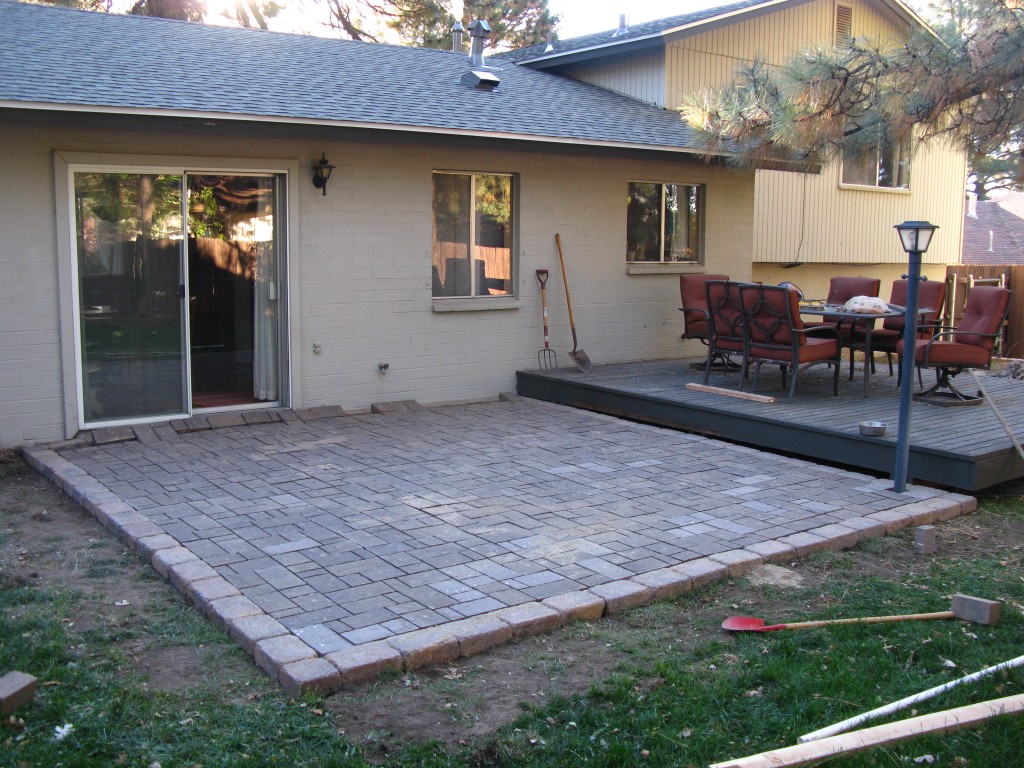
So that’s how I redid our cement slab patio and made it into a nice paver patio instead! There are a few finishing touches left, but it is basically done and it looks great. I wonder what project I’ll tackle next time the government shuts down…

How is the patio holding up? I liked your step by step tutorial and I am thinking of doing this. It’s been 2 years… still happy with the results? What would you do differently?
The patio is still in good shape! Since I didn’t use the plate compactor at the end, it took a while and several re-applications of sand to get it to all settle into the cracks (meanwhile the dogs were constantly tracking sand into the house). The only minor issue is that some of the bricks that I put over the broken-up step area are slightly lower than the border bricks, but I’m the only one that even notices. The area on the slab itself looks great, and I haven’t noticed any drainage or freeze-thaw issues.
EXCELLENT! Thanks for Sharing