As you may have heard, the government was recently shut down for 16 days. I’m a government employee so that meant I suddenly had a lot of unexpected free time. My first instinct was to fill the time with video games and catching up on TV shows, but after a few days of being a lazy bum, I decided that I should take on a project. A big, time-consuming one. Looking out the sliding glass door to our patio, I decided it was time for it to get a face lift.
Here’s why:
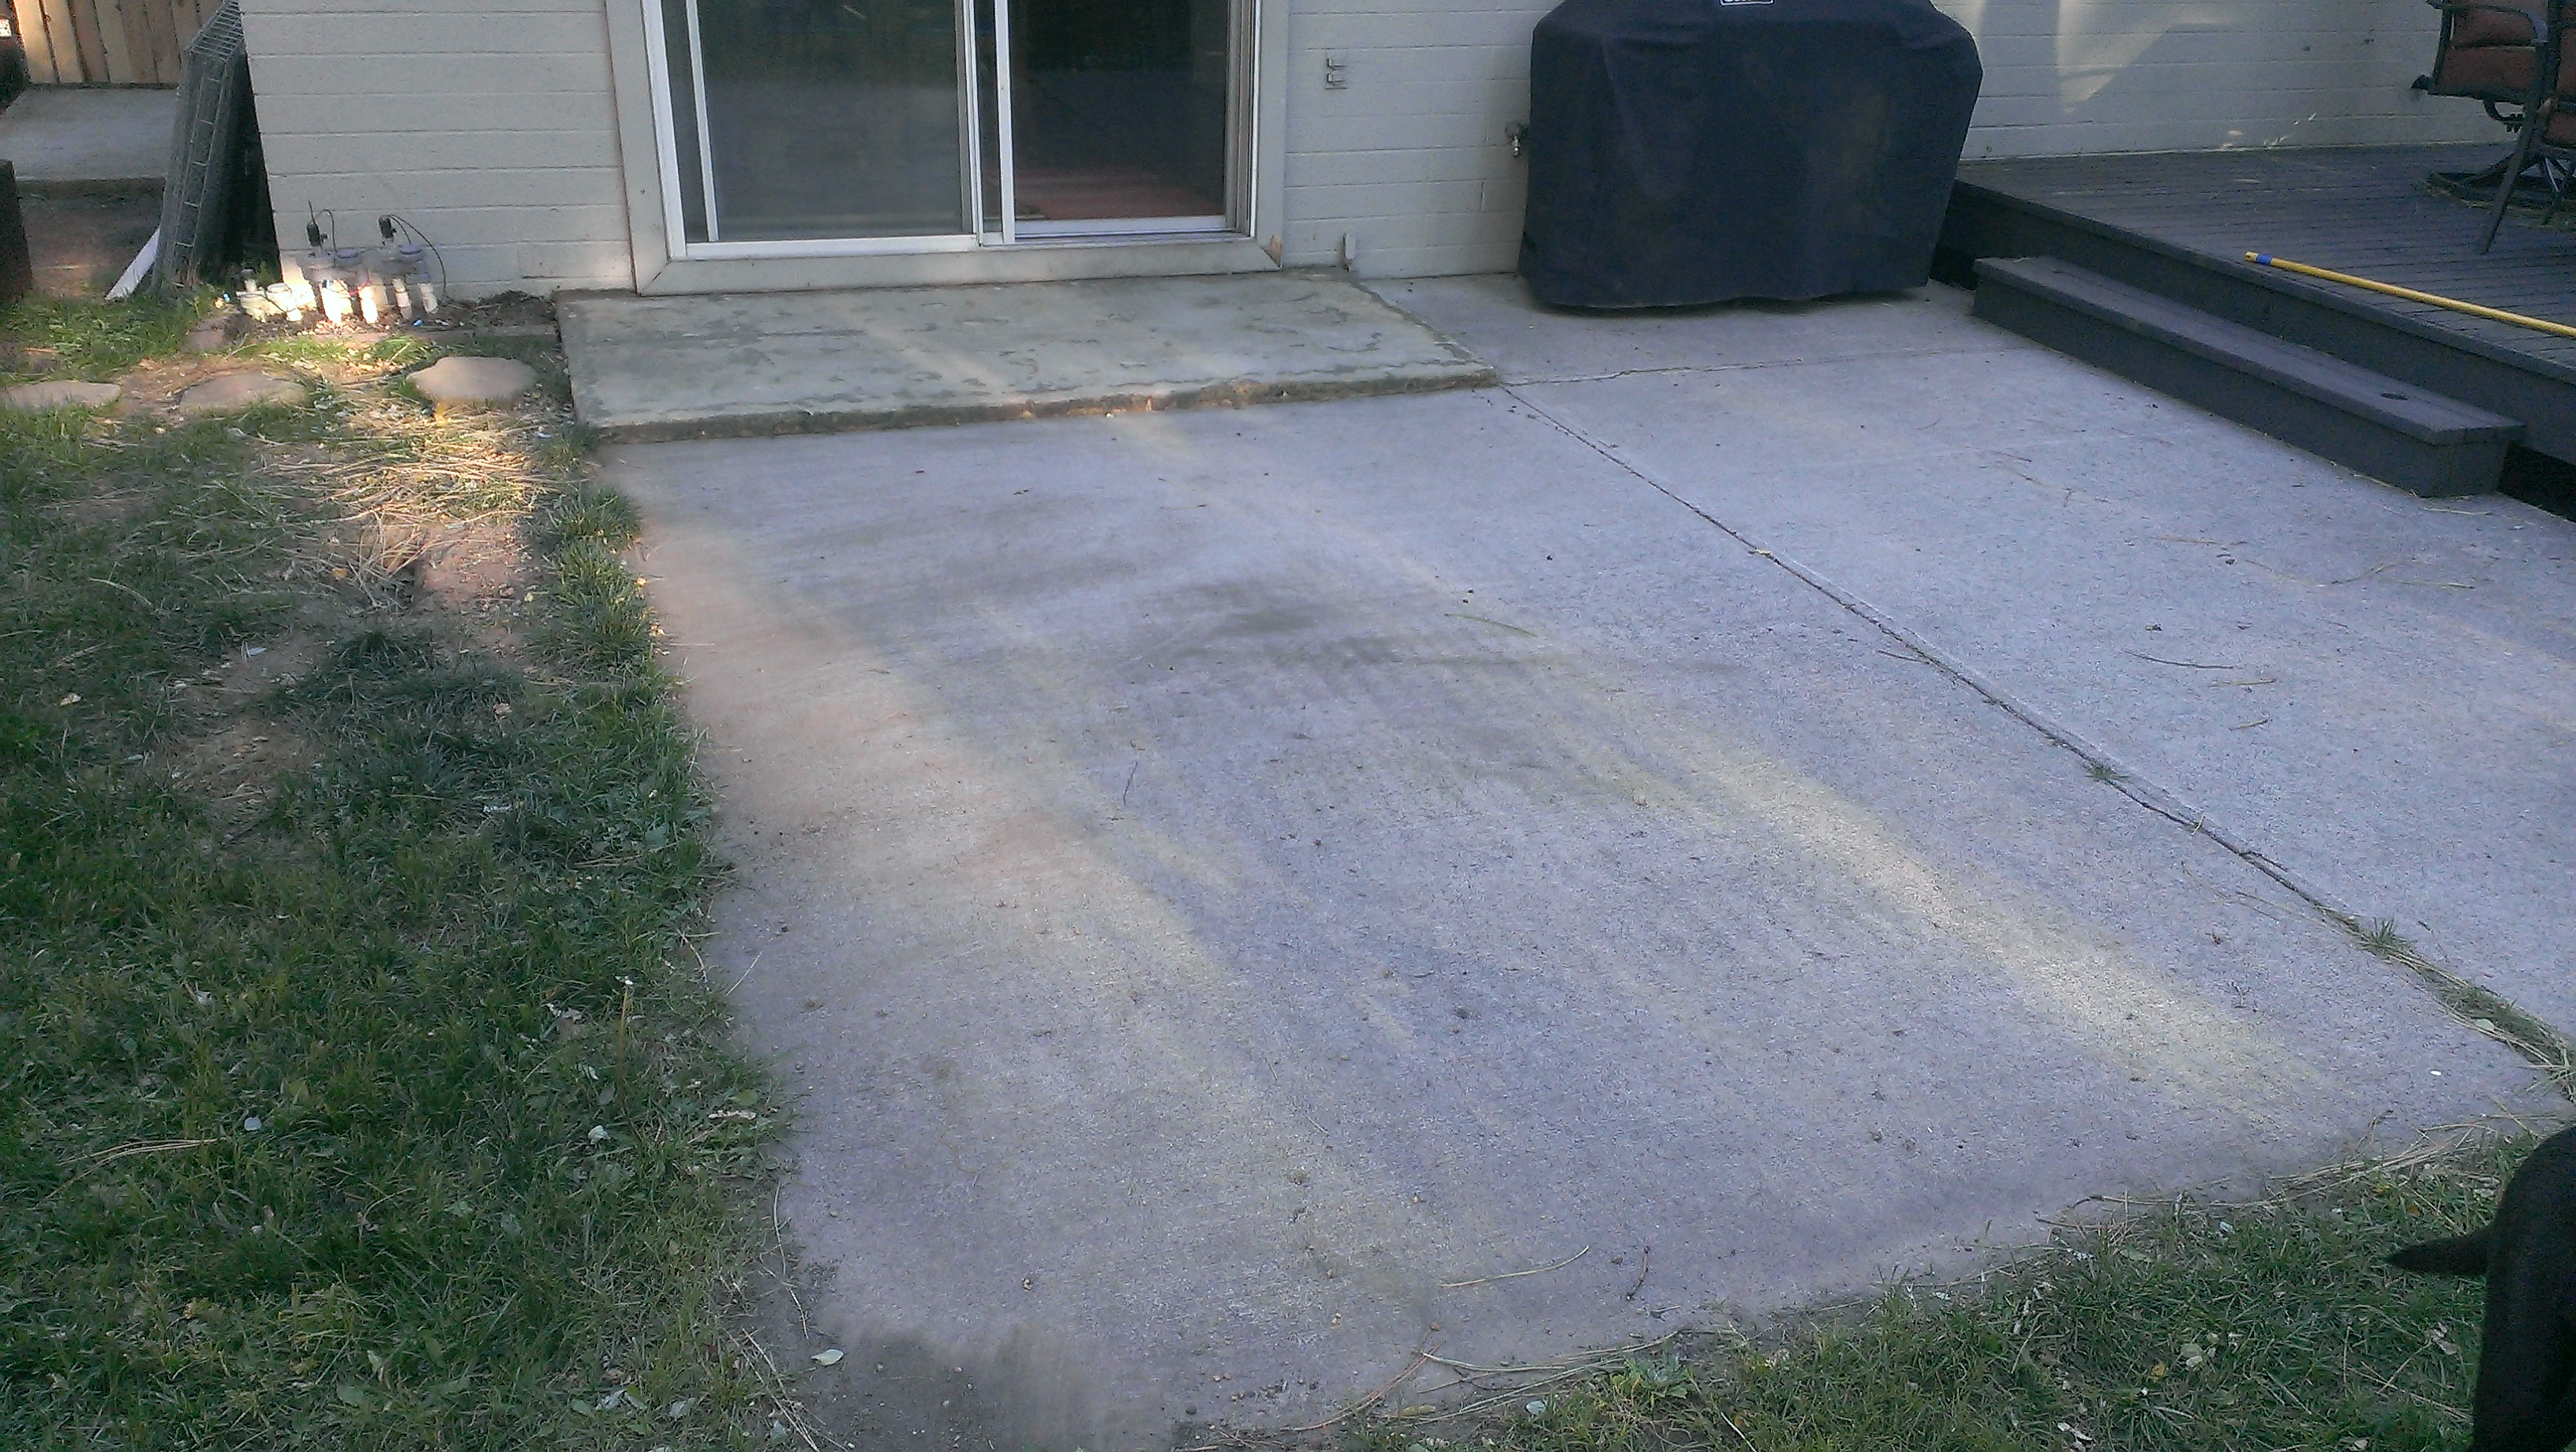
Our patio was a boring cement slab. Functional, but not particularly nice. I decided that it was time to make this into an attractive feature of our back yard rather than just a tolerable place to keep the grill.
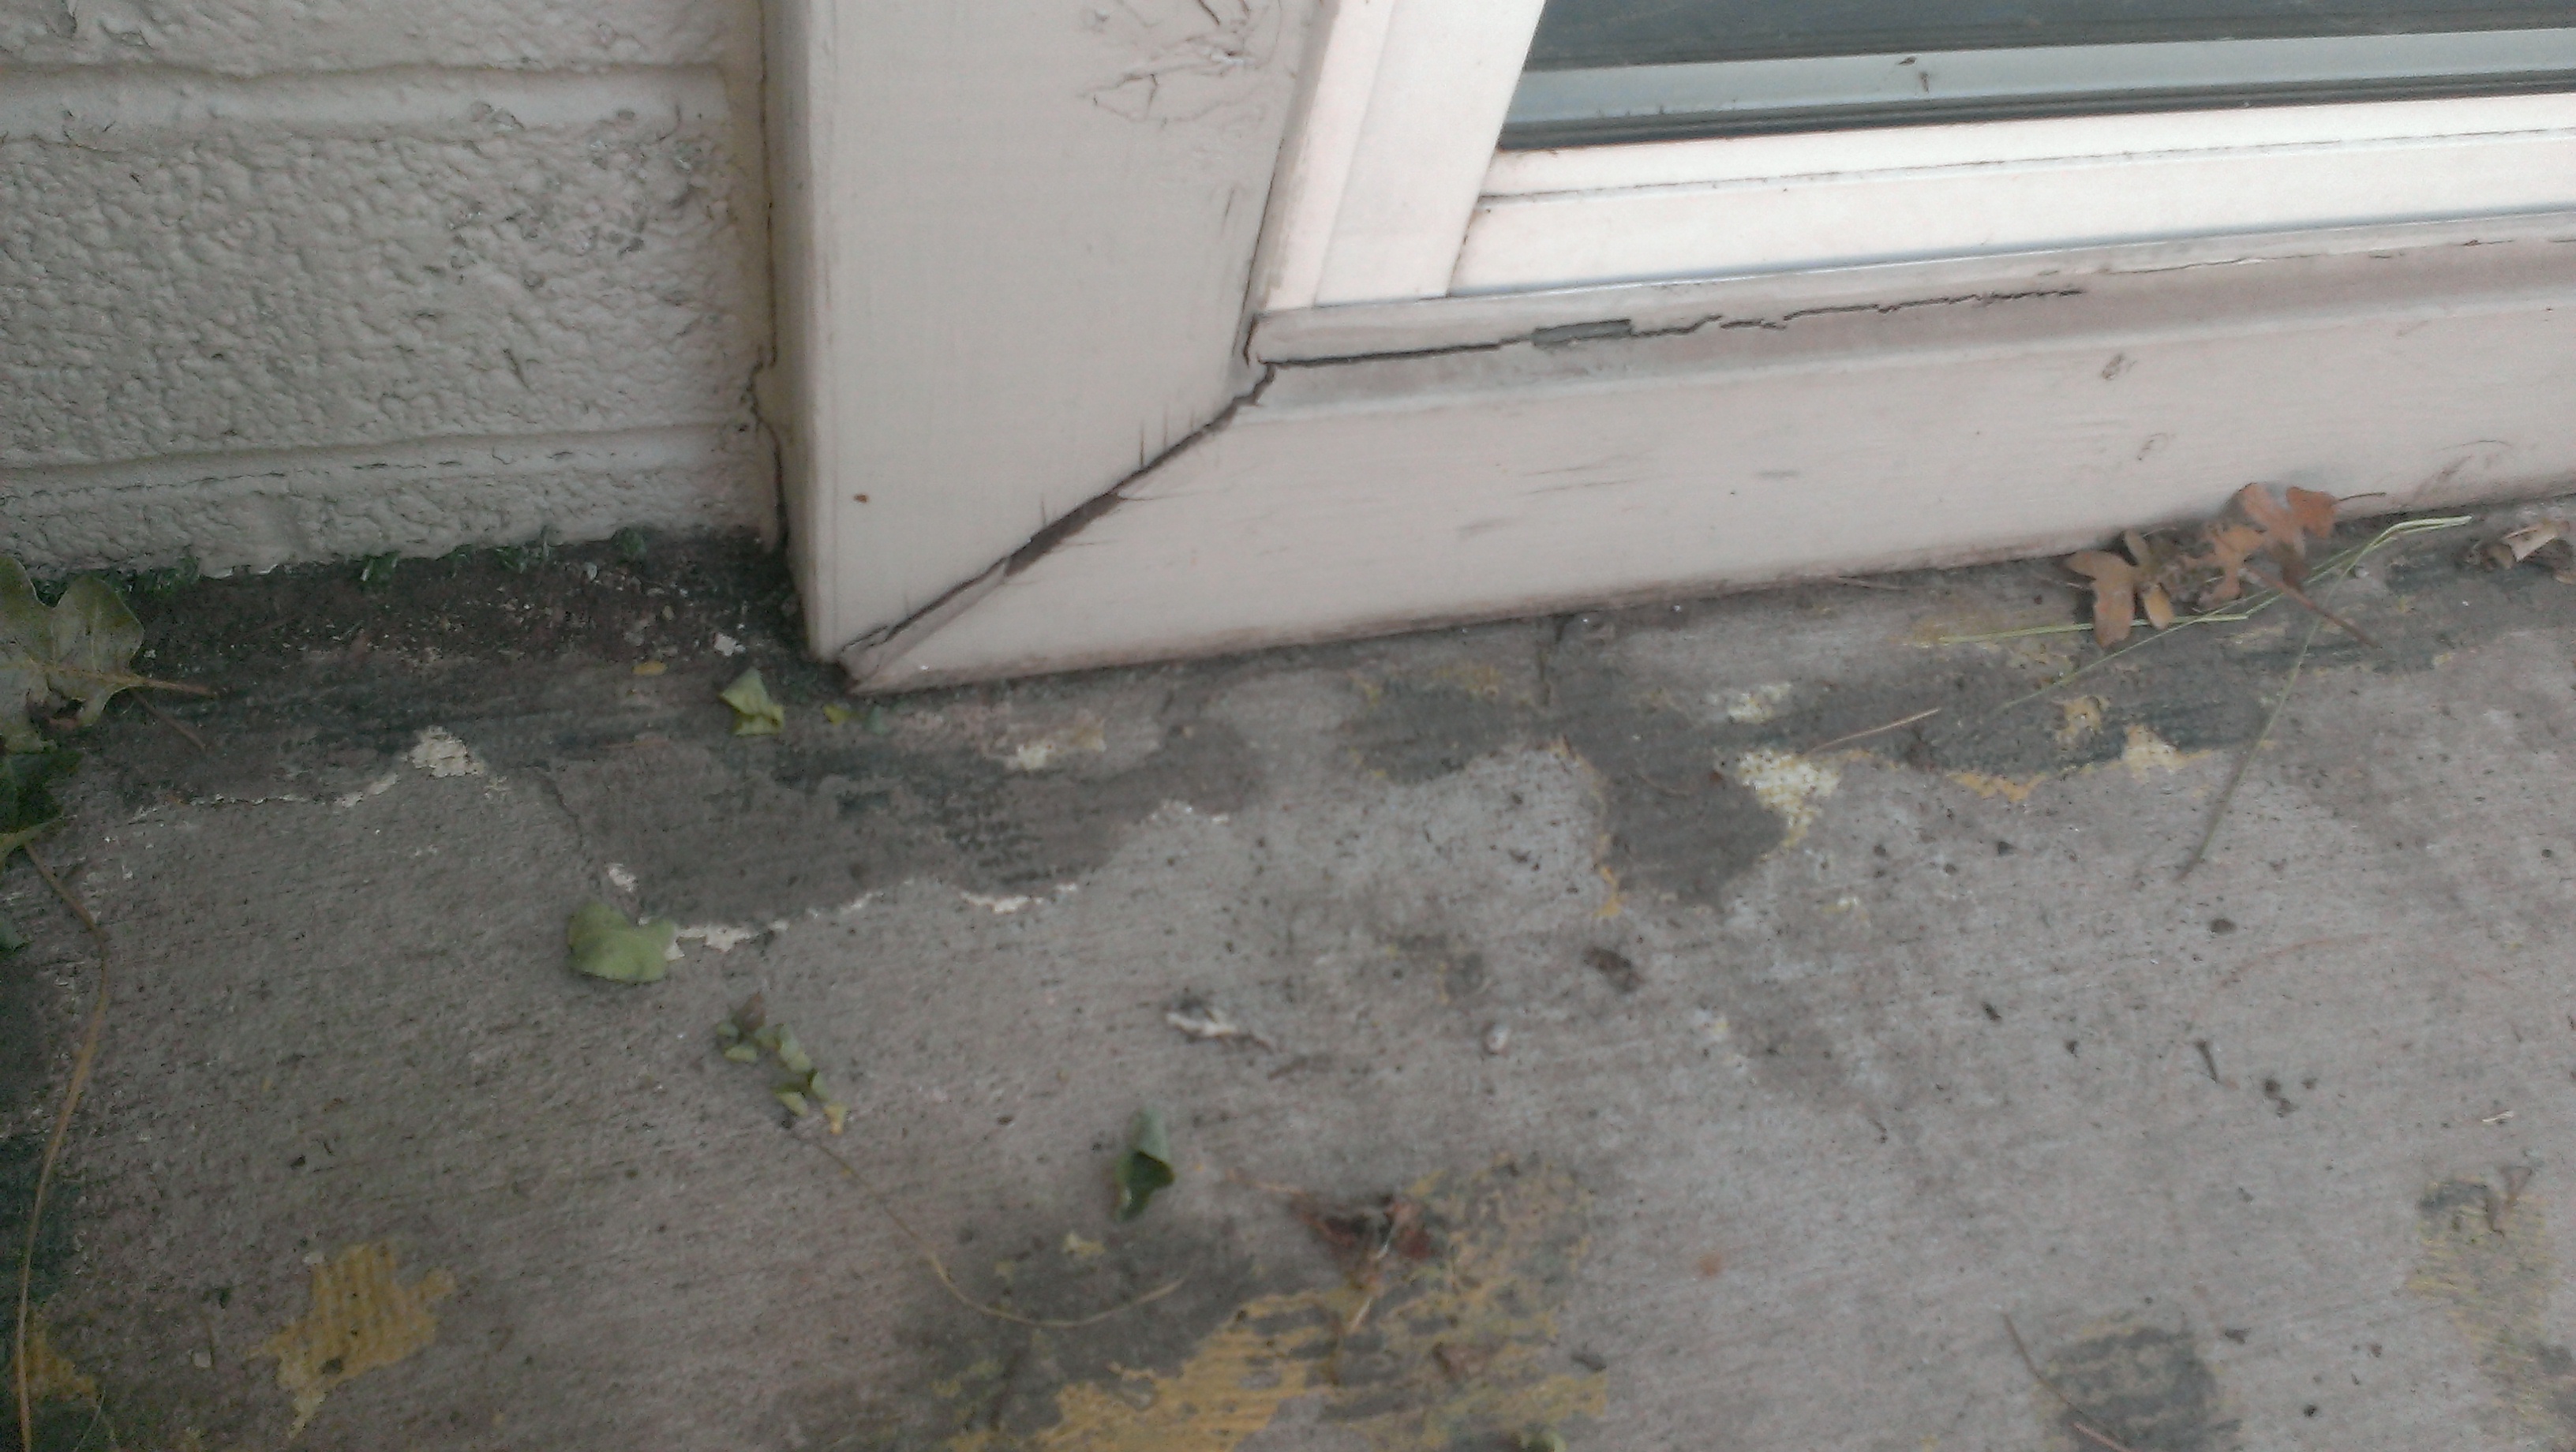
Before doing anything, I read a lot about the options on the internet. I had tons of free time, remember? My first instinct was to do a paver patio, but I quickly ran into a problem: there was a 2″ tall step outside our door before the full patio began. Our best theory is that the step was poured when the house was built and then the rest of the patio was poured later as an add-on. Unfortunately, the step gave us very little room to work with before hitting the frame of the sliding glass door:
So for a while, I was considering doing tiles instead of pavers. Tiles would be nice and thin, so they could just be applied to the existing step and still leave room for the door frame. Unfortunately, we live in Flagstaff, where it get very cold and the temperature swings pretty drastically from day to night, meaning lots of freeze-thaw action. I was very paranoid about laying tiles only to have them pop up after going through a winter. The same concern applied for the option of just mortaring a layer of bricks down.
With tiles I would also have to worry about the control joints in the concrete slab. These are notches that are made in the slab when it is poured in an attempt to guide the inevitable cracking that occurs as a slab cures and settles. When laying tile on a slab, you pretty much have to line up a seam in the tile with the control joint or risk damage down the road when the slab shifts and cracks any tiles that span the joint.
Tiles are also expensive! And if you mess them up, well, they are stuck to the concrete slab surface so you pretty much have to tear the whole thing out and start over from bare dirt.
After reading as much as I could stand on the internet and consulting with my dad, who has a lot of experience with home improvement projects, I decided that pavers were the way to go. There are still plenty of mistakes possible with pavers, but they tend not to be as irreversible as with tiles.
But what about that step? There are thin pavers on the market, but not many. Most pavers are 2.5″ or 3.5″ thick: too thick to go on top of our little step and leave room for the door. So, the step had to go. My first idea was to rent a concrete saw, cut notches into the step, and then break off the chunks until the step surface was roughly the same height as the main patio surface. I asked the guys at home depot what they thought of this plan, and they recommended just destroying the step entirely. My dad concurred, suggesting that it might even be possible to pry the step up and bust it with a sledgehammer.
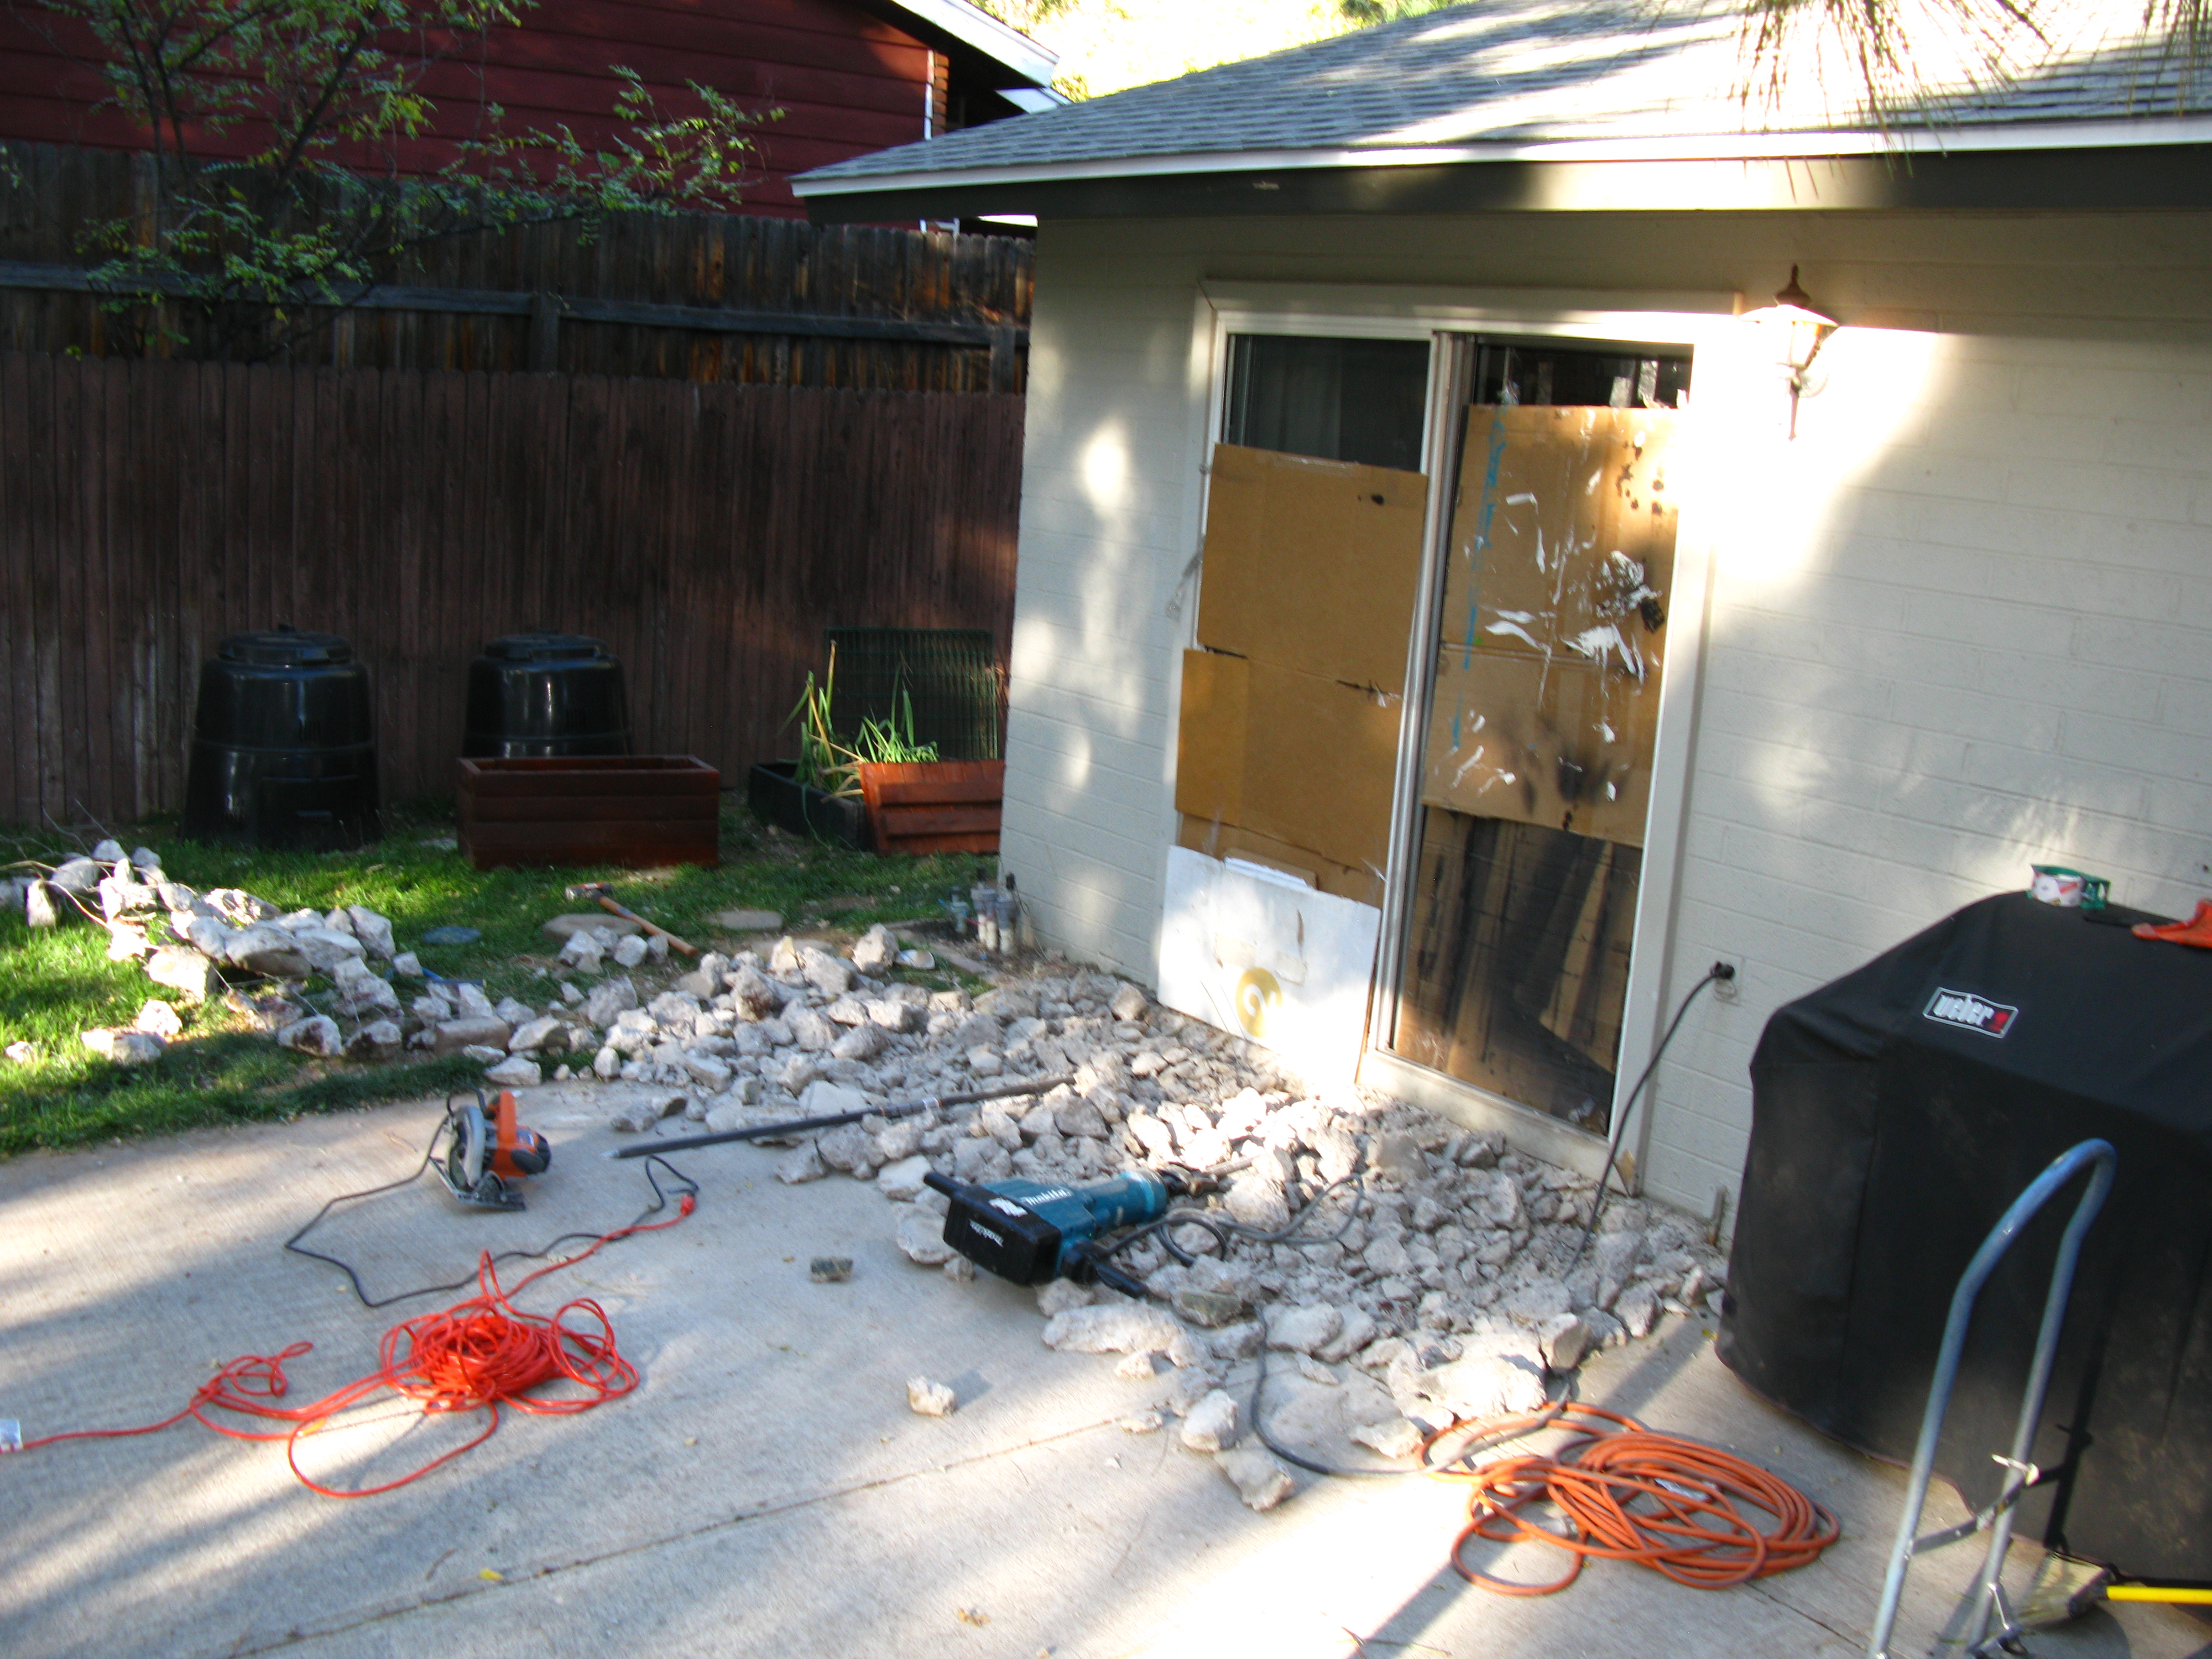
It turned out Home Depot’s rental masonry saw was missing a part, so I decided to try just getting masonry blades for my circular saw and cutting it myself. The blades are cheap (~$3) and they are designed to gradually grind away as you cut, so I bought three of them. I also purchased an 8 pound long-handled sledgehammer and a “San Angelo Bar“, which is basically a 17 pound, 6-foot steel bar with a pencil point on one end and a chisel tip on the other. I also purchased some decent safety equipment to protect my eyes, ears, and lungs from the concrete dust and shrapnel I was about to produce. I already had some sturdy leather gloves.

Fully encased in protective equipment and ready to demolish a concrete step!
So, armed with my new tools and protective gear, I set to demolishing the step. I quickly discovered that, while masonry blades on a circular saw will cut concrete, it is an incredibly slow, loud, dusty process. It was going to take hours to destroy my little 4 foot by 8 foot by 5 inch thick step. I also tried just using the sledge hammer to start cracks and then a combination of the San Angelo bar, a masonry chisel, and my rock hammer to break it up. Here’s what I managed to do in an hour:

An exhausting hour’s worth of work with circular saw, sledge, and chisel.
You’ll notice the cardboard in the above picture. That was there to prevent fragments of flying concrete from breaking our sliding glass doors. I may have been a bit optimistic about how well it was going to break up. Clearly, I needed a better tool if I was going to finish breaking up that step in less than a week. Enter: the Jackhammer.
I rented the jackhammer for 4 hours from Home Depot. Did you know that jackhammers are really heavy? They basically rely on their own weight to break up the concrete, so the hardest part of using one is not when the thing is turned on. At that point, you just have to keep it from falling over. The hard part is extracting it from the hole in the concrete that it just made and re-positioning it to repeat the process. The one I rented weighted 70 pounds, and it was not long before all the muscles in my body were very upset with me.
There were a few times when I moved the jackhammer a little bit too far into unbroken concrete so instead of breaking off a chunk, it just drilled a hole in the slab and got stuck, looking like a giant had thrown a 70 pound jackhammer-shaped dart at the step. Then I got to smash away at the surrounding concrete with my other tools until the jackhammer came loose again. Moral of the story: slow and steady wins the race. Only move the jackhammer a little bit so that each time you turn it on, it breaks off a chunk instead of getting stuck.
I ended the day sore all over, bruised, and dusty, but the jackhammer did its job and destroyed that step. Inside the step, there were several meshes of reinforcing steel wire, so it turned out to be a good thing I rented the jackhammer instead of just trying to tough it out with lesser tools.
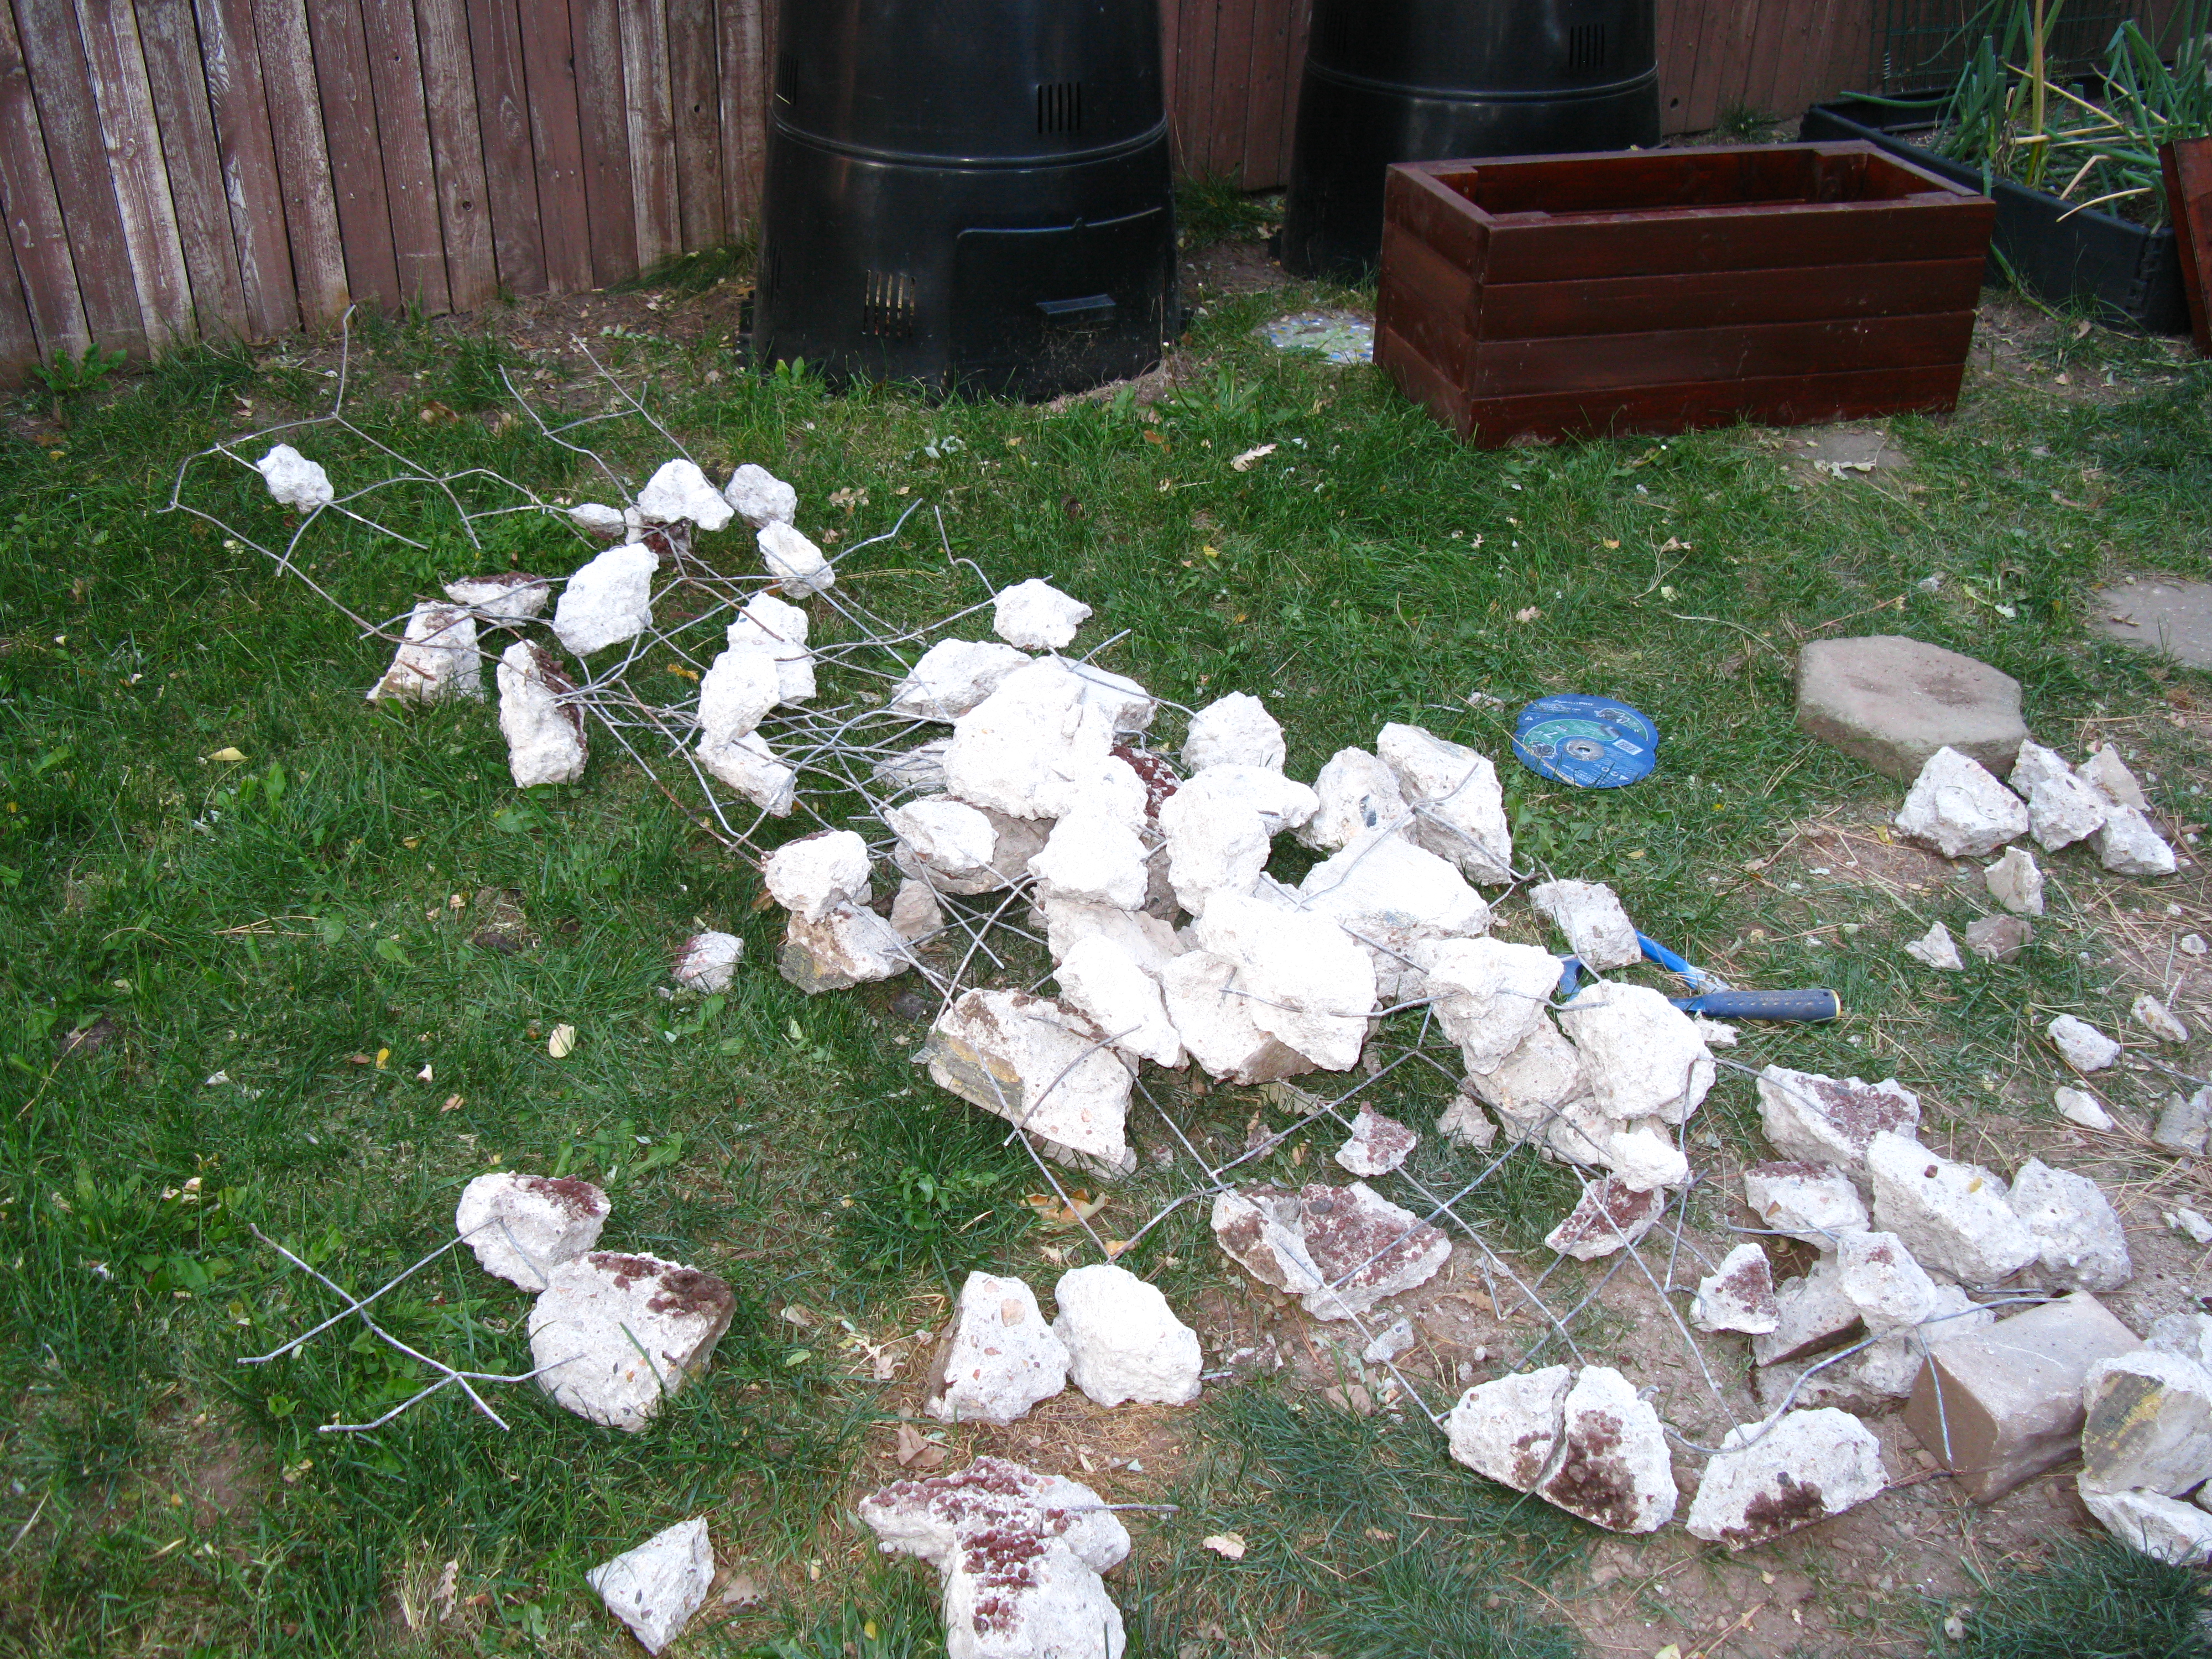
Chunks of concrete still clinging to the steel reinforcing mesh that I dragged from the rubble of the step.
At this point I was committed. I had made a giant mess, and had to see the project through because a pile of rubble is even worse than a slab patio! I still had to figure out what to replace the step with, what type of pavers to use, whether they should be laid on sand or directly on the concrete, and a million other questions. But those are questions for another post. Stay tuned for the continuing saga of the patio project!

0 Comments
1 Pingback