In my review of 7 Days to Die, I showed a couple of screenshots of the absurdly huge Lord of the Rings-inspired base that I made in my latest single player game. Now I want to spend some more time showing off the base in more detail. Probably the easiest way to do that is with a video tour:
I know that personally I don’t always want to watch a video when I can read something instead, so I’ll use the rest of this post to walk through the base in writing with lots of screenshots.
This project started out as a regular play-through, with no cheats or changed settings. However, I quickly decided I wanted to build something more creative than just a place where I could survive horde nights. I’ve always loved the epic architecture of Lord of the Rings, and so I thought it would be cool to try to build a base that borrowed from some of the coolest LOTR locations. Once I got motorized vehicles, I started exploring the game world in search of a nice mountain or cliff to use as a starting point.
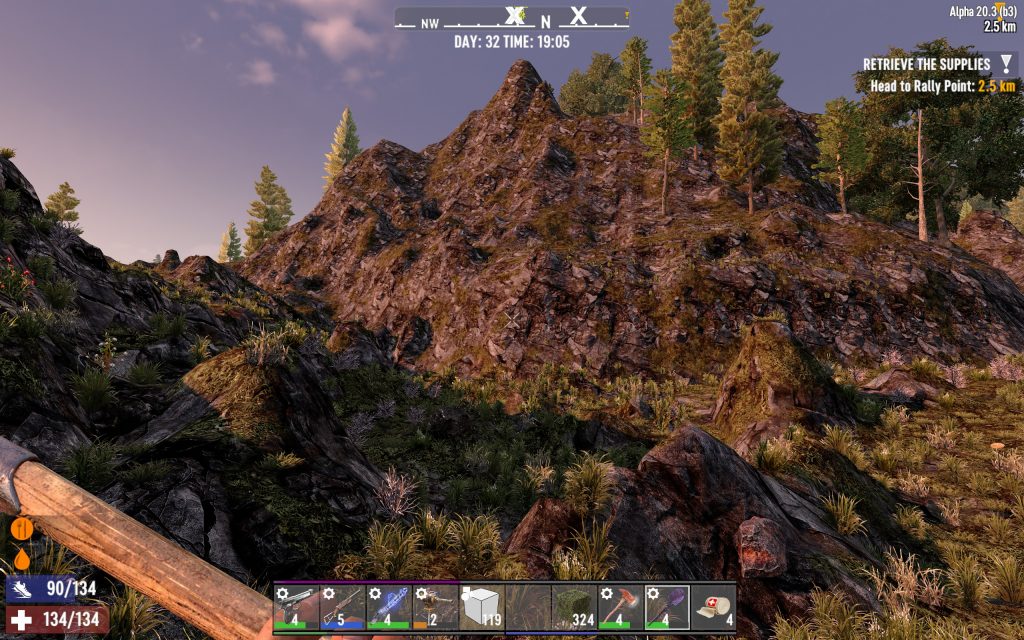
I was looking for a cliff in particular because I knew I wanted to create a switchback staircase like Dunharrow in LOTR:
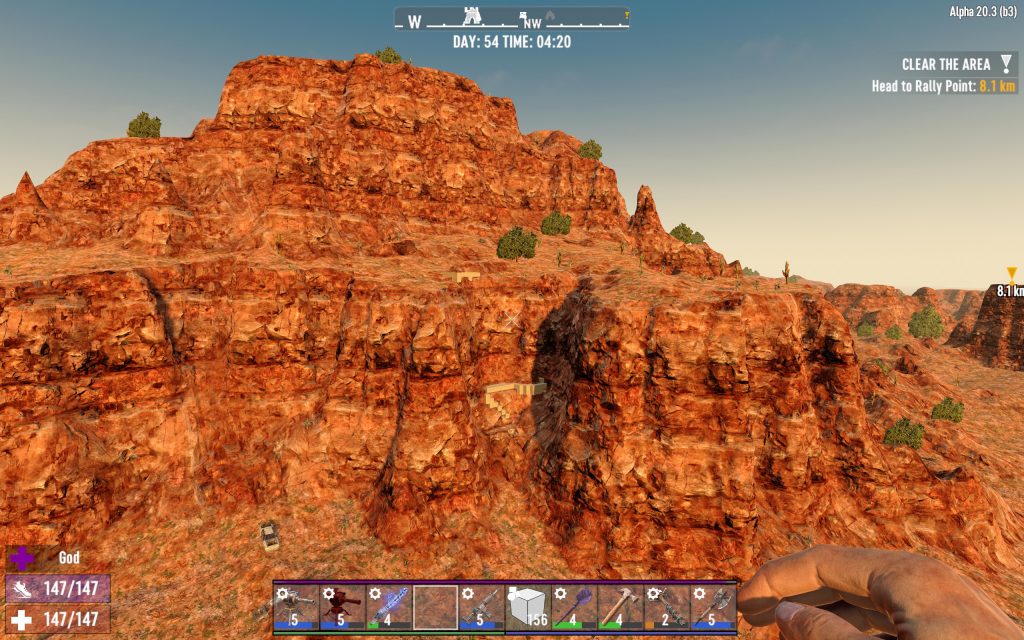
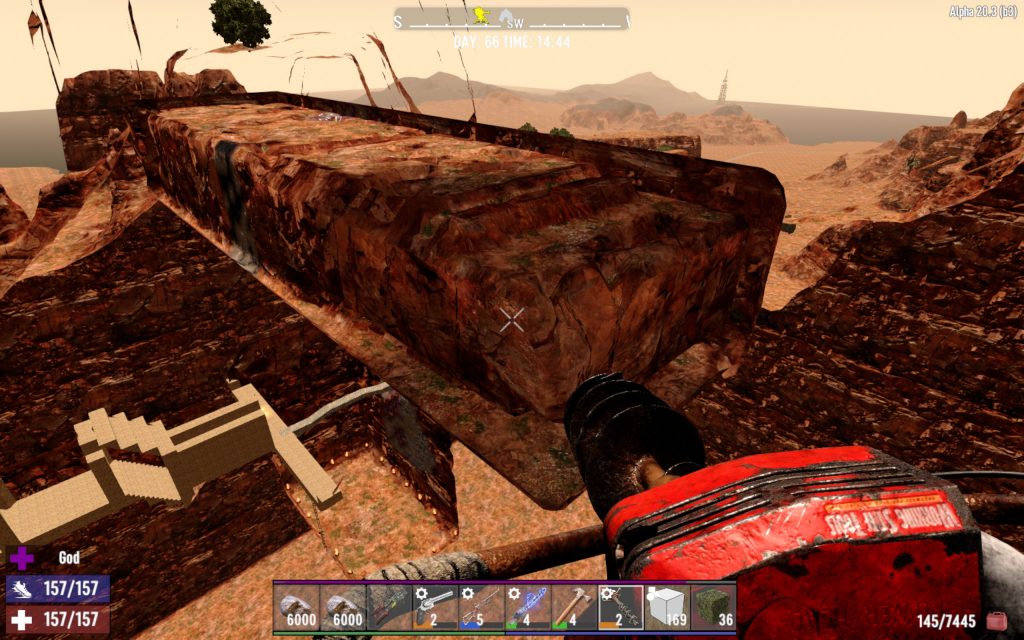
Finally, I discovered that the way random world generation works in this game, the steepest cliffs are always in the desert biome. After some more scouting I found a great location and started building:
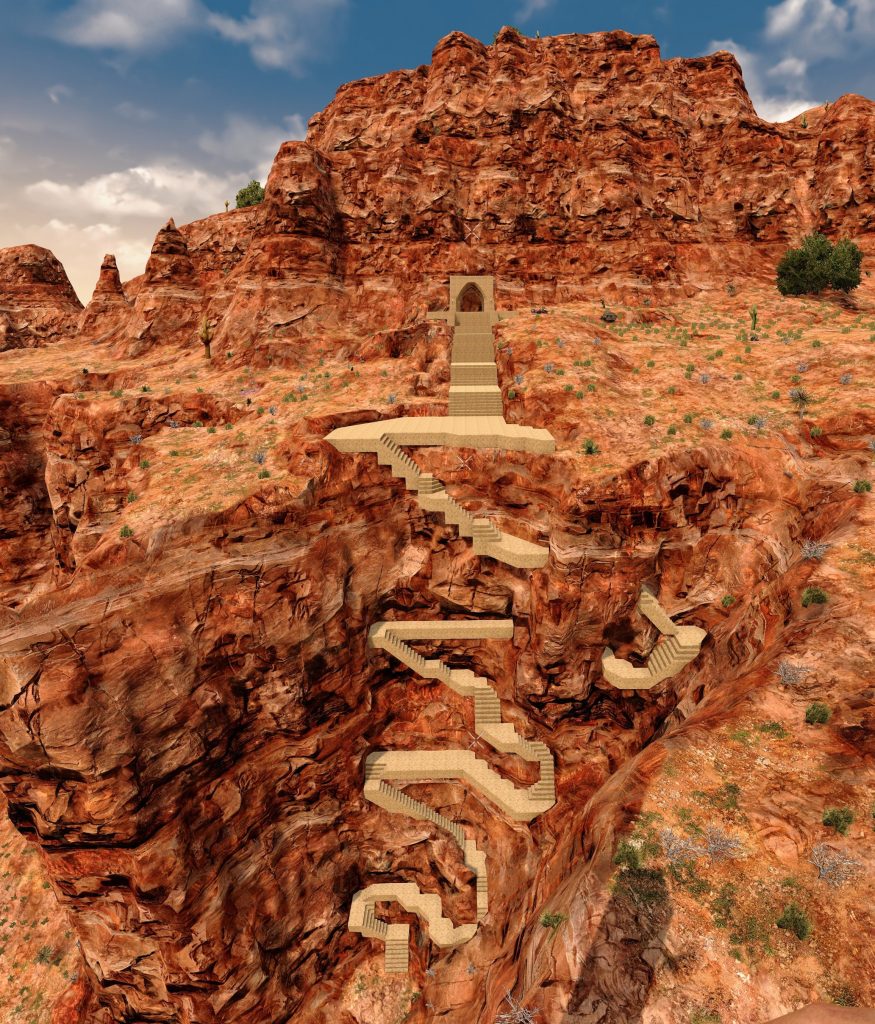
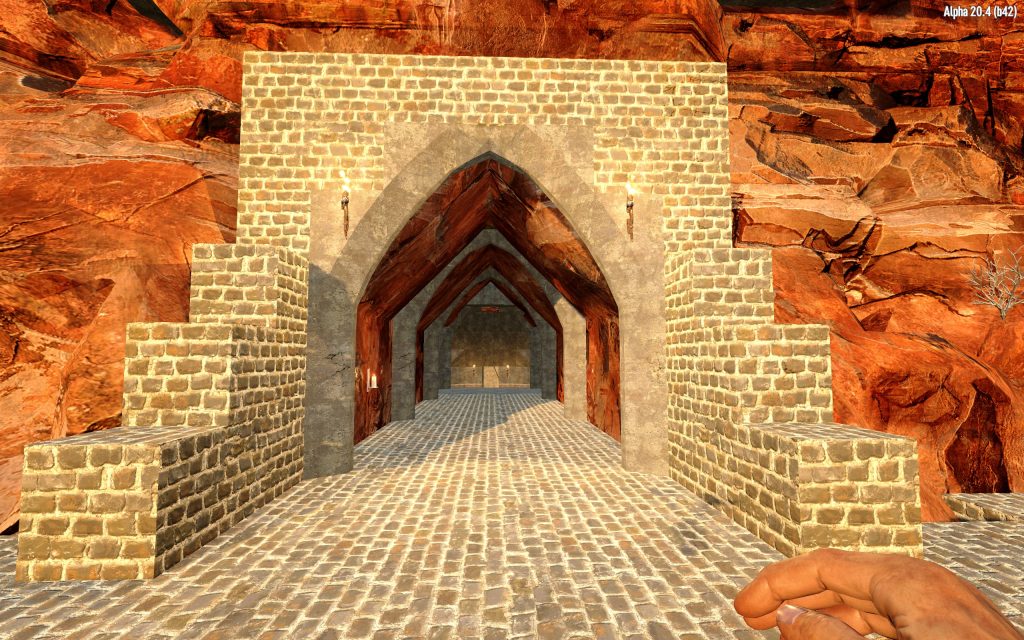
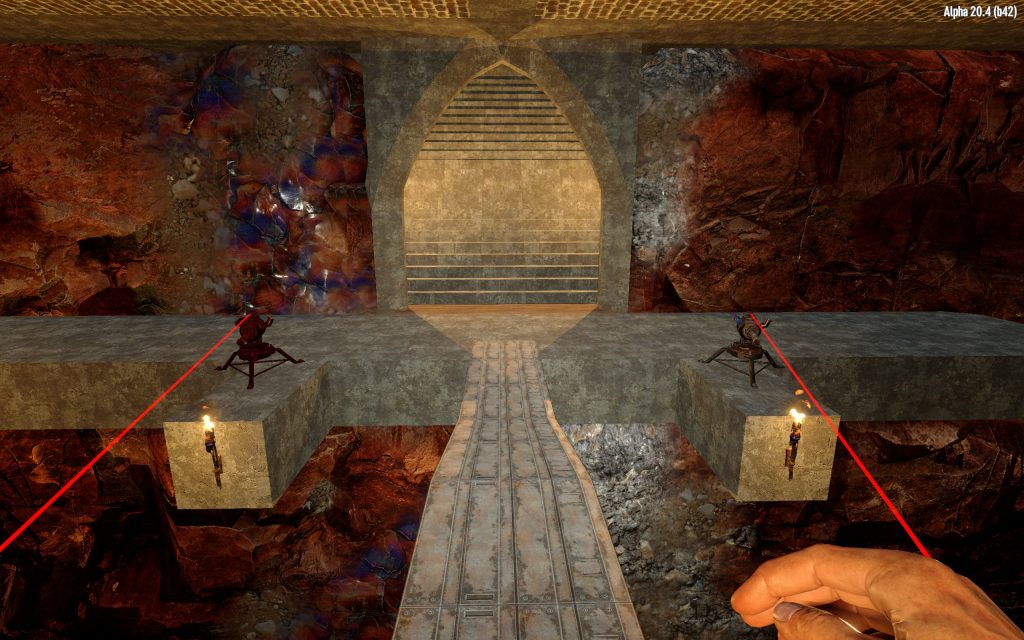
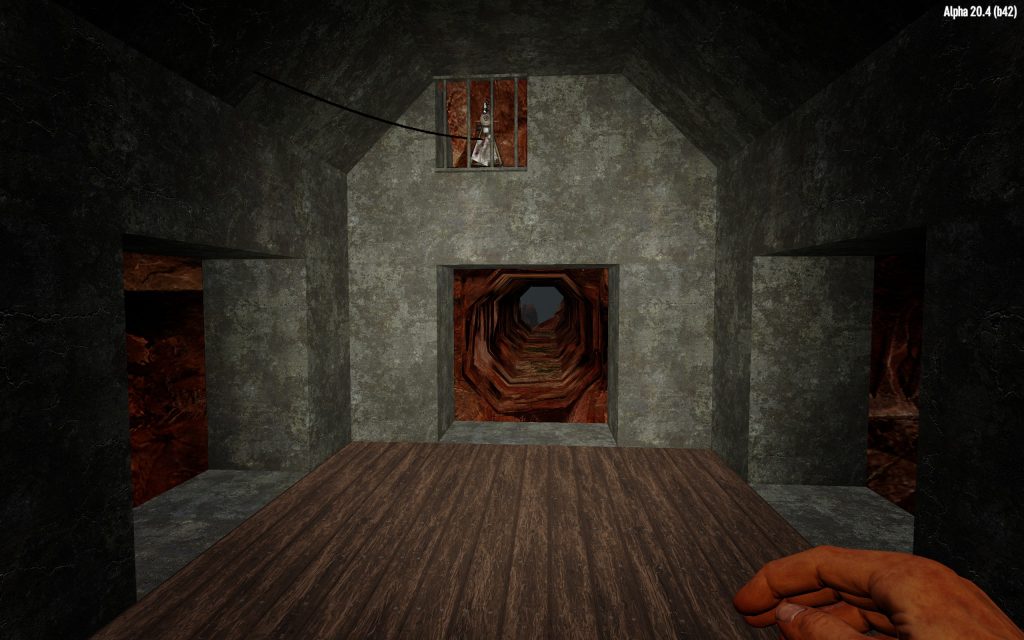
I knew that in addition to the switchback stairs, I wanted to dig into the mountainside and create my very own Mines of Moria. I started off by digging a tunnel into the mountain for a ways, with a nice arched entrance, leading to a chokepoint:

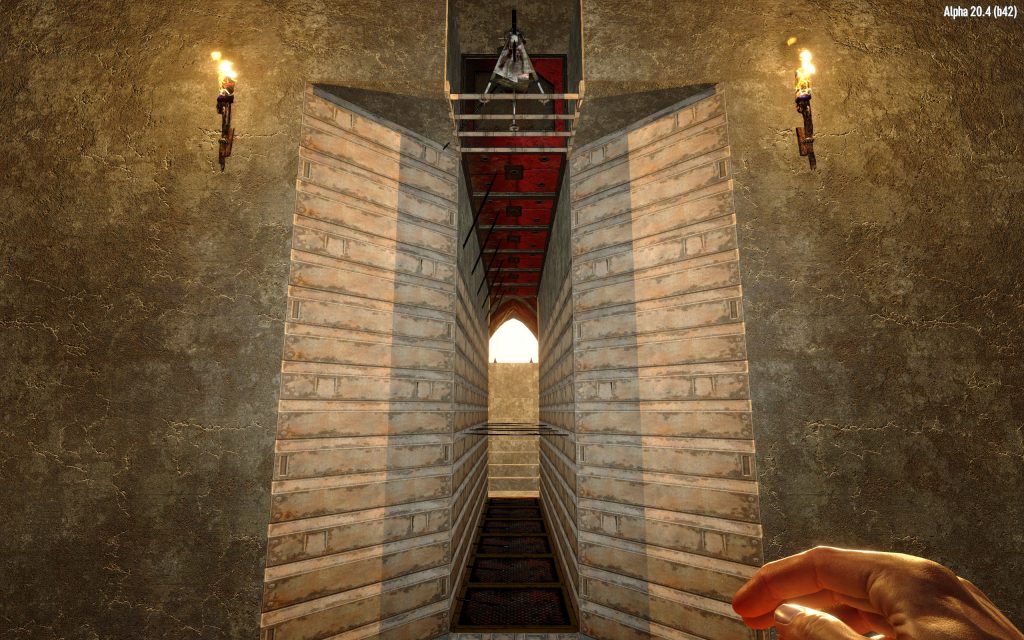
At the chokepoint itself, I set up a series of electric fences to stun zombies and dart traps in the ceiling with pressure plated beneath, so that zombies would trigger the trap while stunned and be shot from above. I also added a shotgun turret at the end of the chokepoint so that any zombie that somehow made it through the dart traps would be shot from above by the turret:
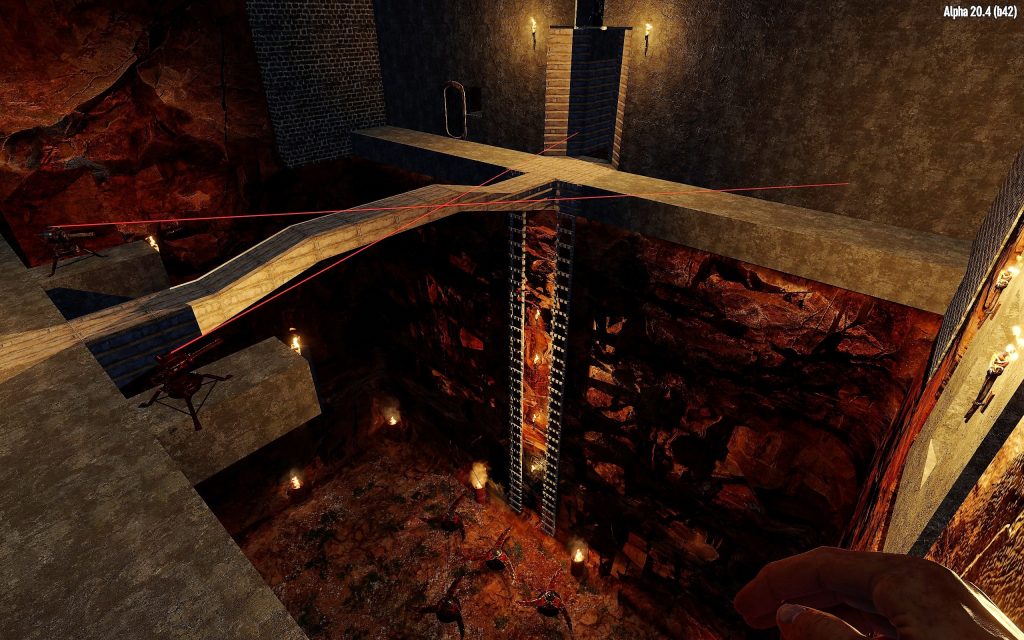
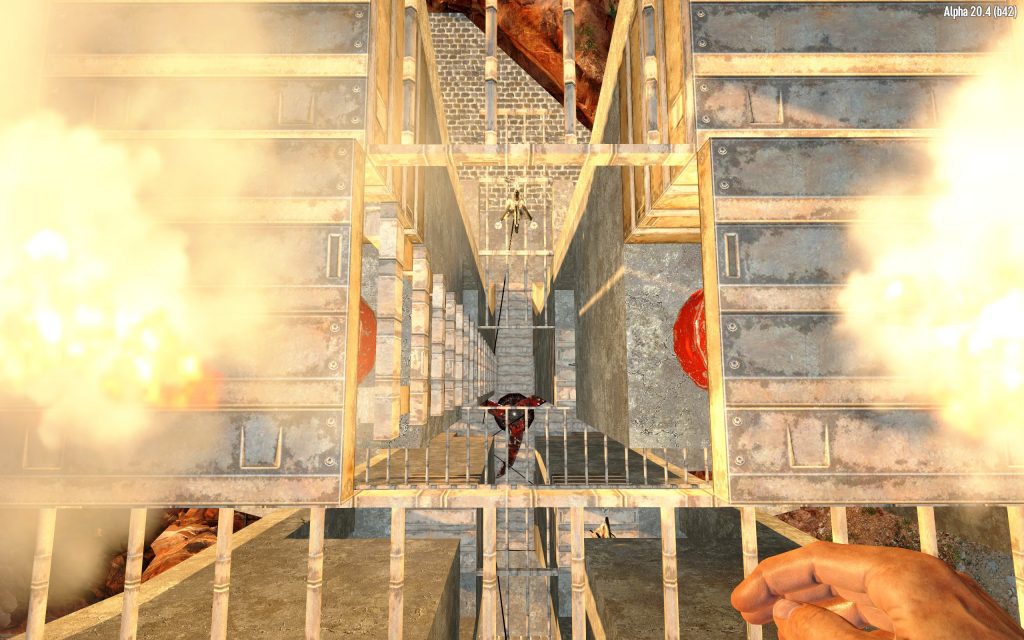
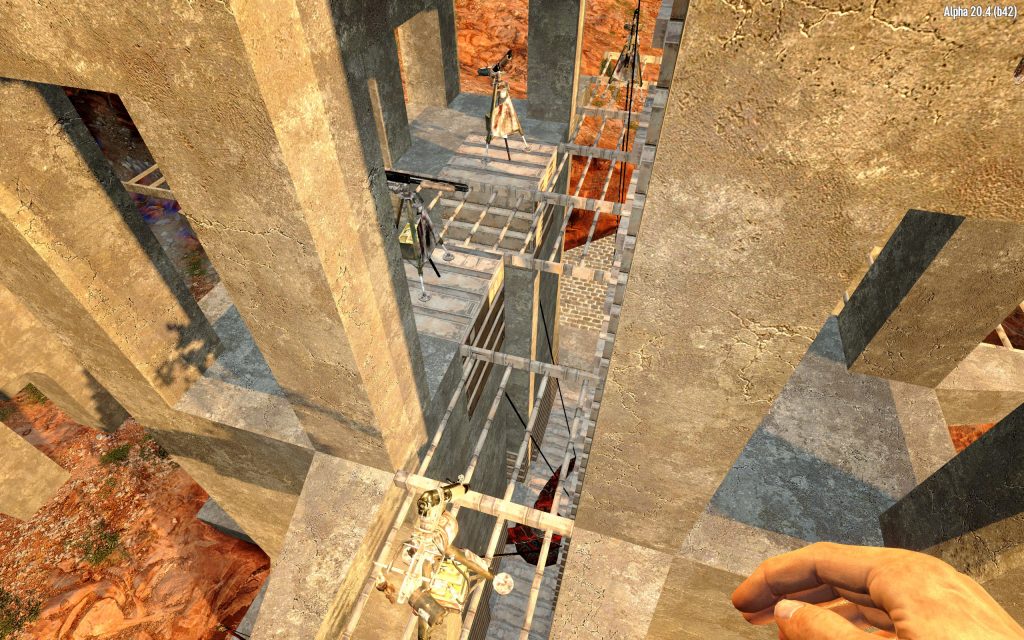
From the chokepoint, I decided that I wanted to re-create the famous Bridge of Khazad-dûm from Lord of the Rings. If you are less geeky than me and are wondering what the heck I’m talking about, it is the place where Gandalf fights the Balrog and says “You shall not pass!”
I unfortunately didn’t take any screenshots while digging out the chamber where I built the bridge, so I can only show off the finished product. But it was as I was digging out this chamber that I decided to make this building project a bit less tedious by cranking up my block damage to 300%, meaning that I could drill through the rocks of the mountain at 3x the speed. In the end, I made myself a nice deep pit, with a narrow, arcing bridge spanning it. I couldn’t very well summon a balrog, but to get a similar firey ambiance, I put a lot of torches and burning barrels in the pit.
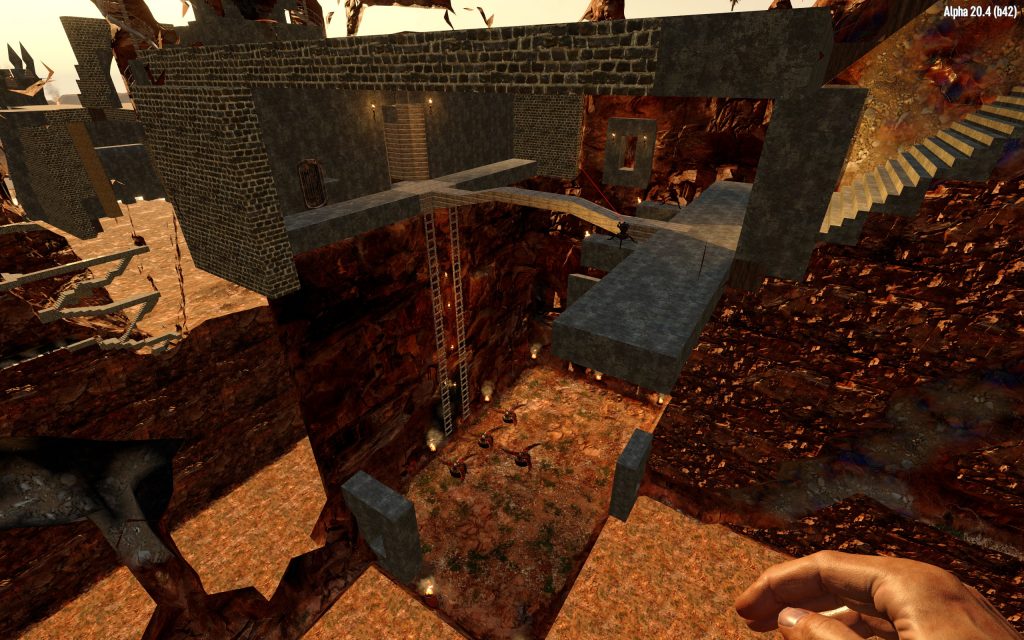

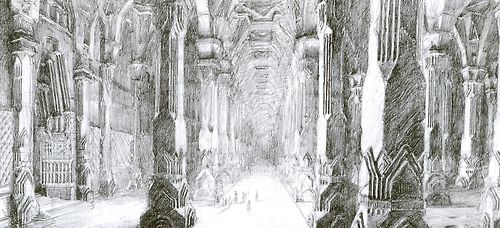
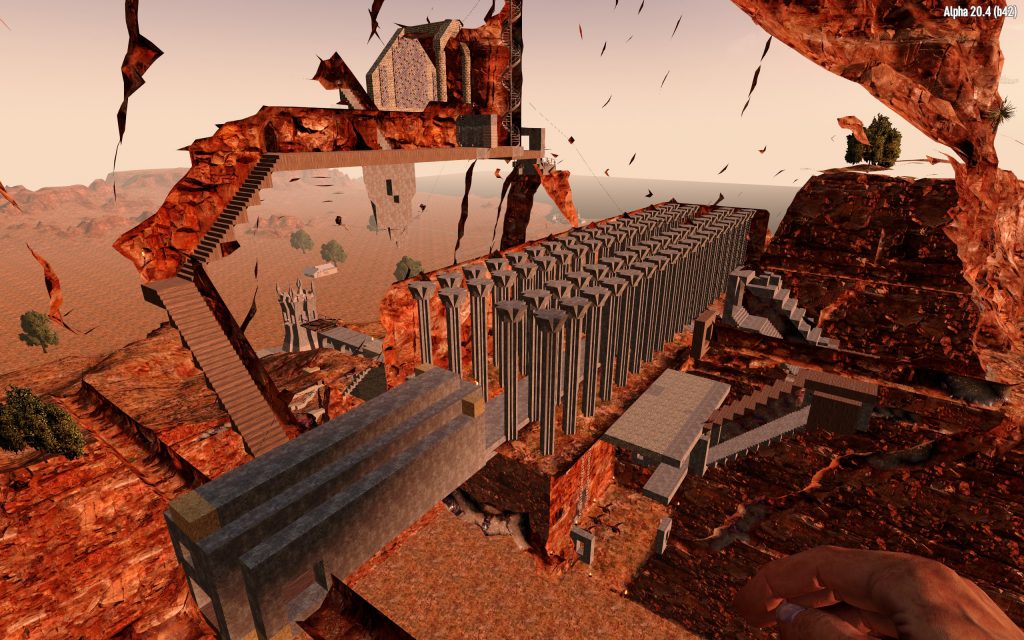
I returned to this pit later for some finishing touches, but for now let’s continue. From the Khazad Dum room, I dug some stairs up, doubling back to end up above the room. Here is where the digging really got serious. I wanted to re-create the huge hall in Moria filled with rank upon rank of pillars stretching off into the distance.
I had learned in the process of digging out the pit for the bridge of Khazad Dum that to dig out such a huge volume block by block would take forever, even with 300% block damage. So instead I got smart. I dug around the perimeter of a huge rectangle and then undermined it so that it collapsed. The way the game physics works, if you cause a collapse, most of the blocks that are no longer supported are destroyed, and a small percentage remain as rubble which is much weaker and easier to clear.
Here are some screenshots showing the stages of digging out this huge hall. It was around this stage of the project that I also started really using “god mode” much of the time.
The full length of the rectangular hall was too much to collapse all at once, so I split it into several chunks. Here’s a little video I recorded of the last chunk collapsing. You can see how very unrealistic the collapse is, but it’s a fast way to clear out a large volume!
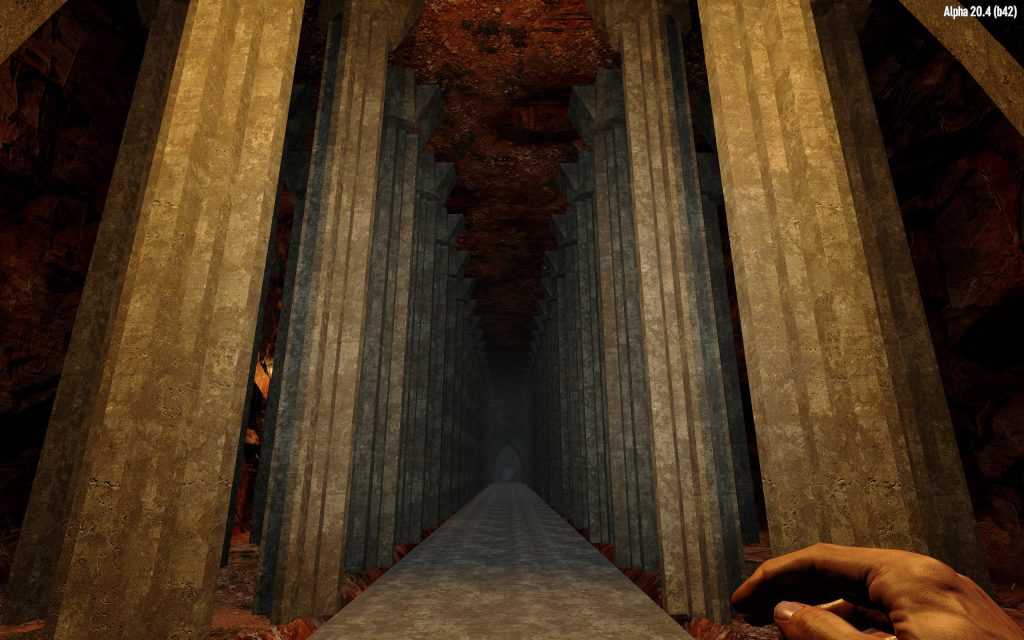
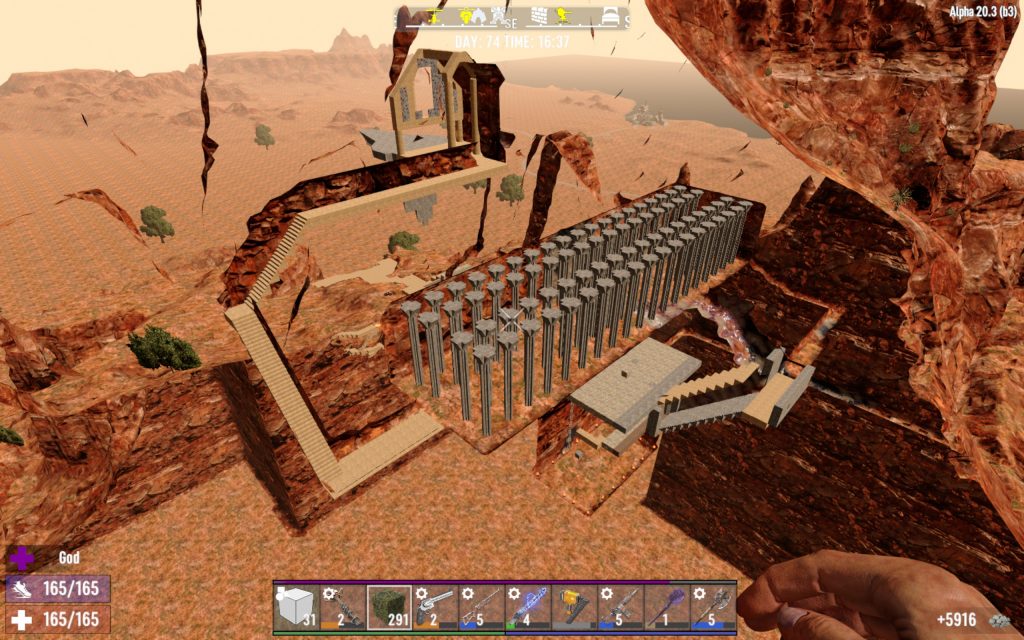
After clearing out the space of the hall, I filled it with huge pillars to mimic Moria. I’m pretty pleased with how it came out:

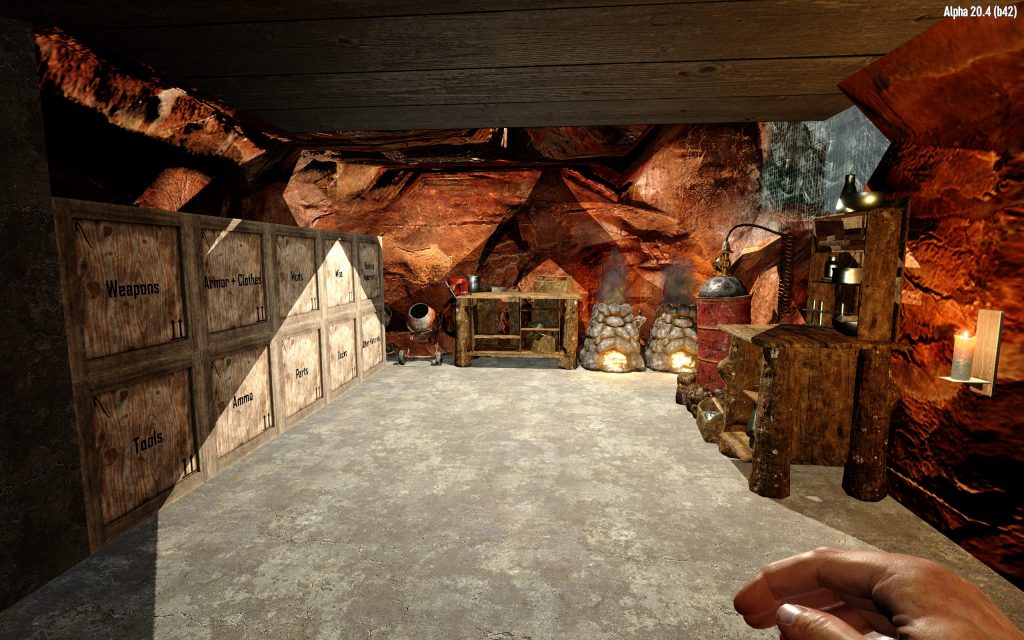
At this point, with the hall constructed, I wanted to build a functional “residential” section of the base. When I decided to build this base, I moved all of my stuff from the original base I had been using from the start of the game, but had just been keeping it stashed in crates out front. My work stations were also just sitting out front, and I wanted to get them placed in an actual “workshop” part of the base.
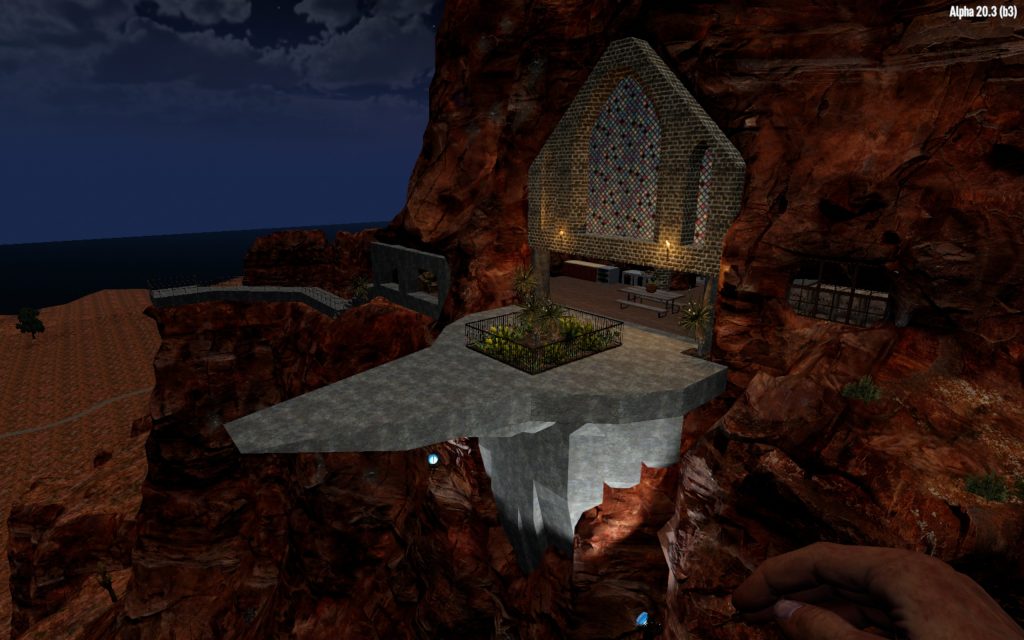
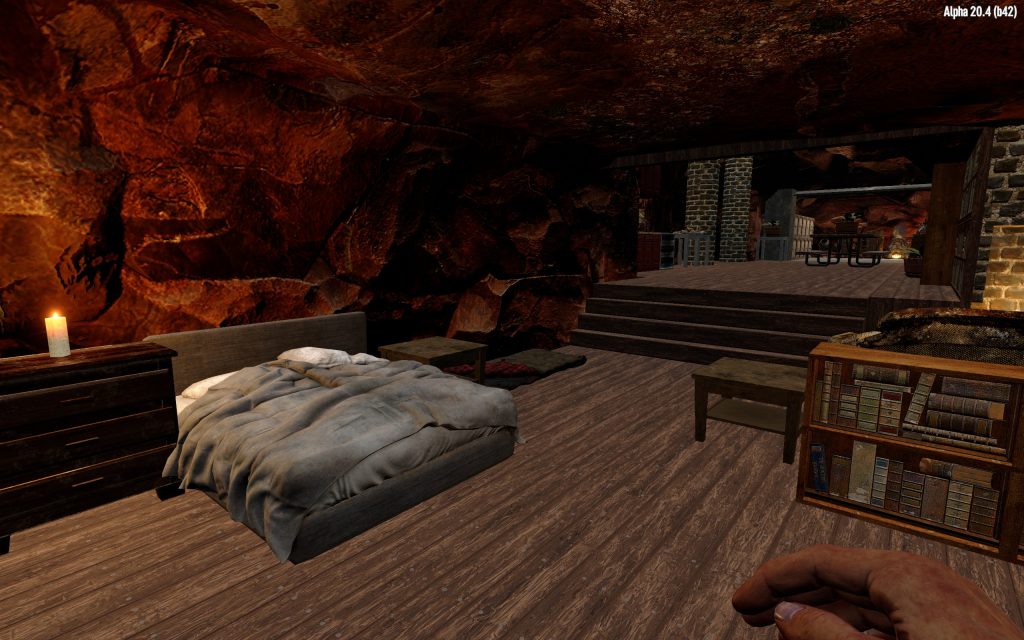
I created a hallway and staircase off the end of the Moria hall, leading up to a large living space that emerges from the cliff face above the main entrance.
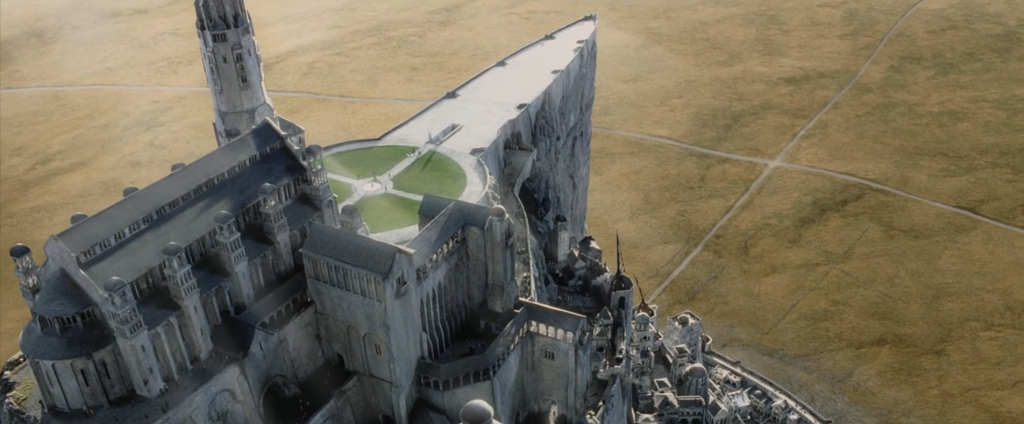
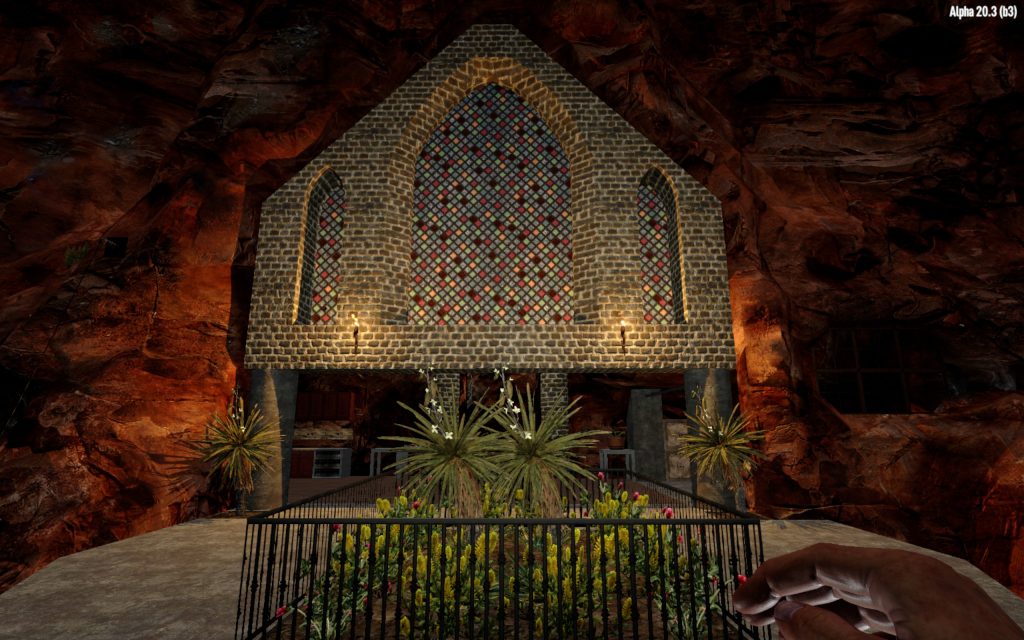
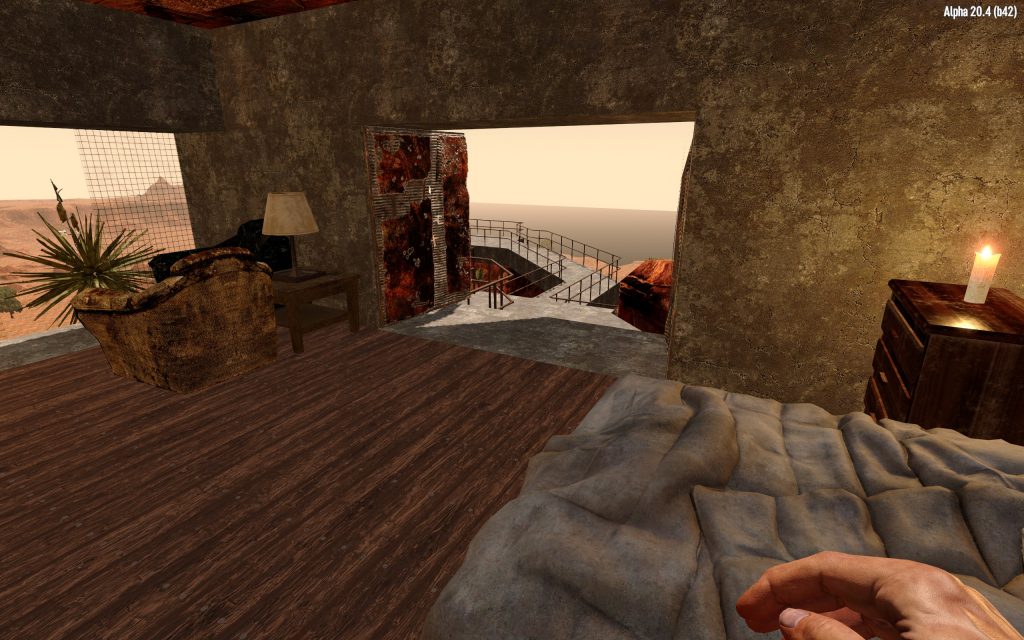
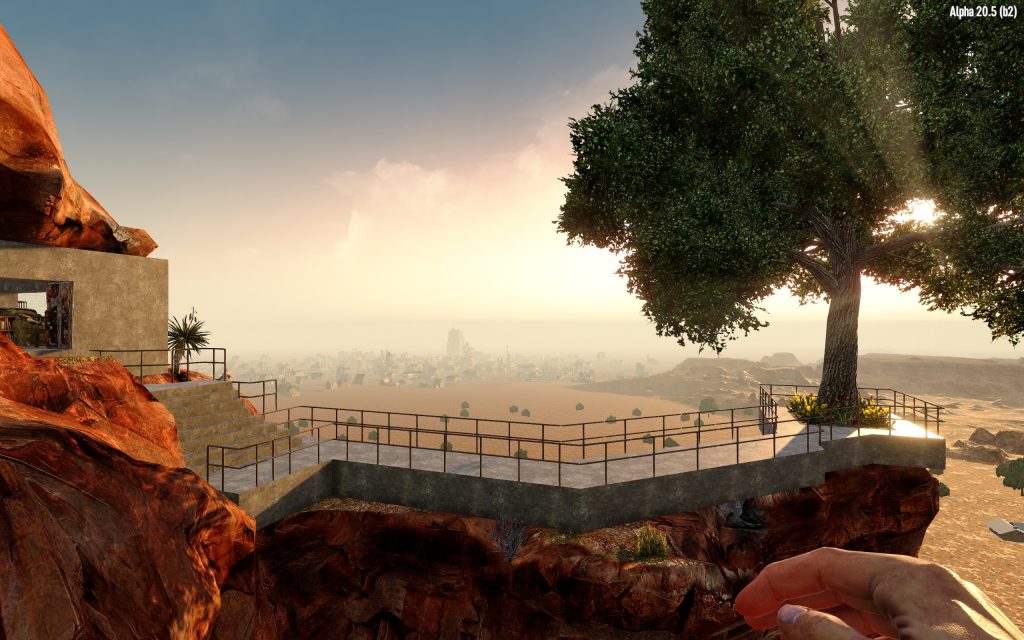
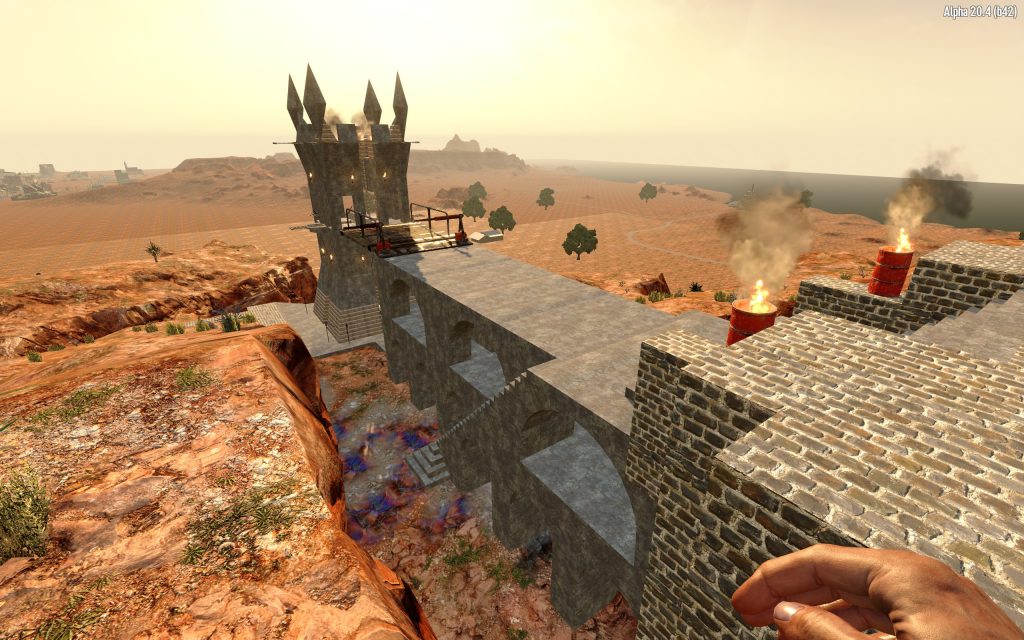
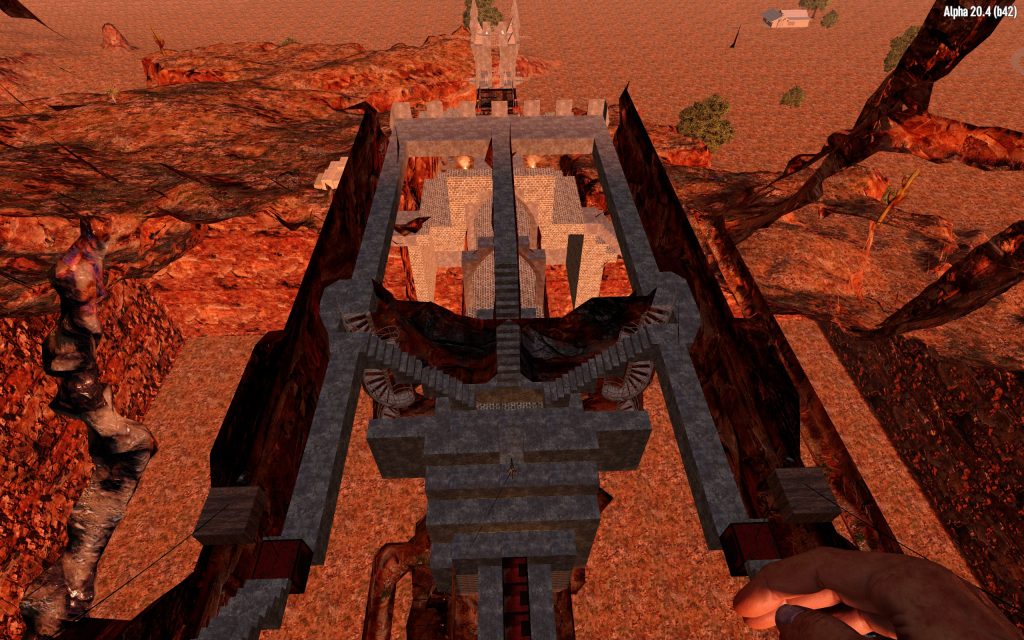
Where the living area emerged from the cliff, I built a huge concrete “prow” sticking out in a way that was sort of reminiscent of the way the Citadel of Gondor sticks out over the walled city of Minas Tirith in LOTR:
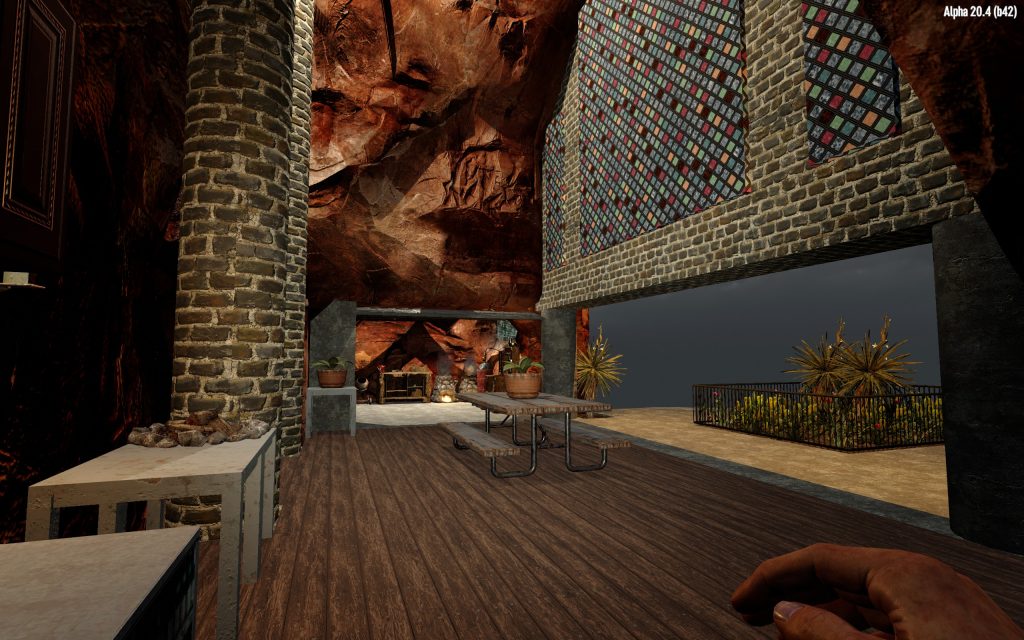
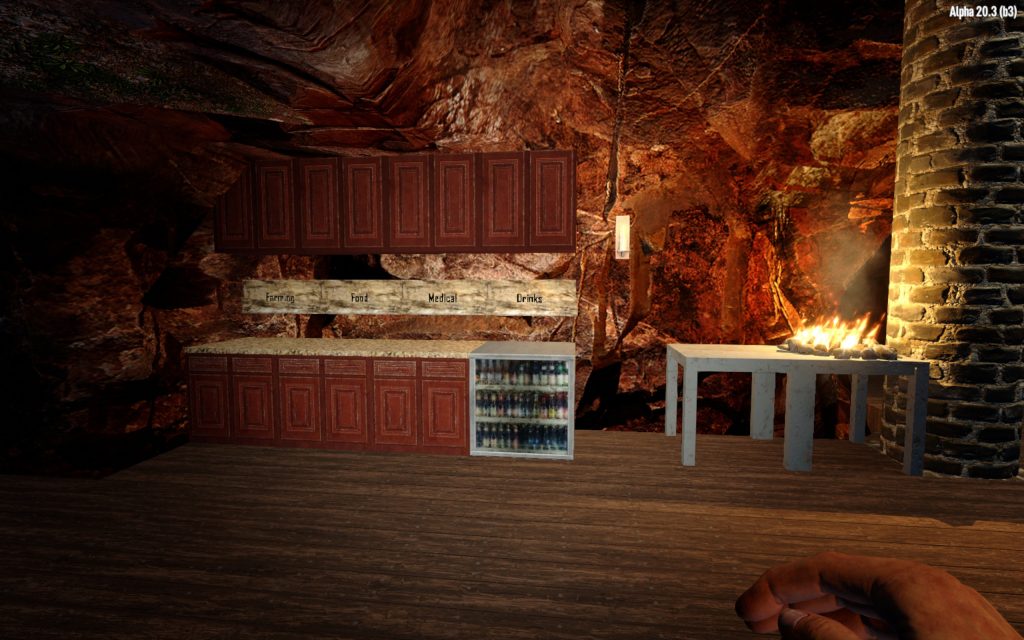
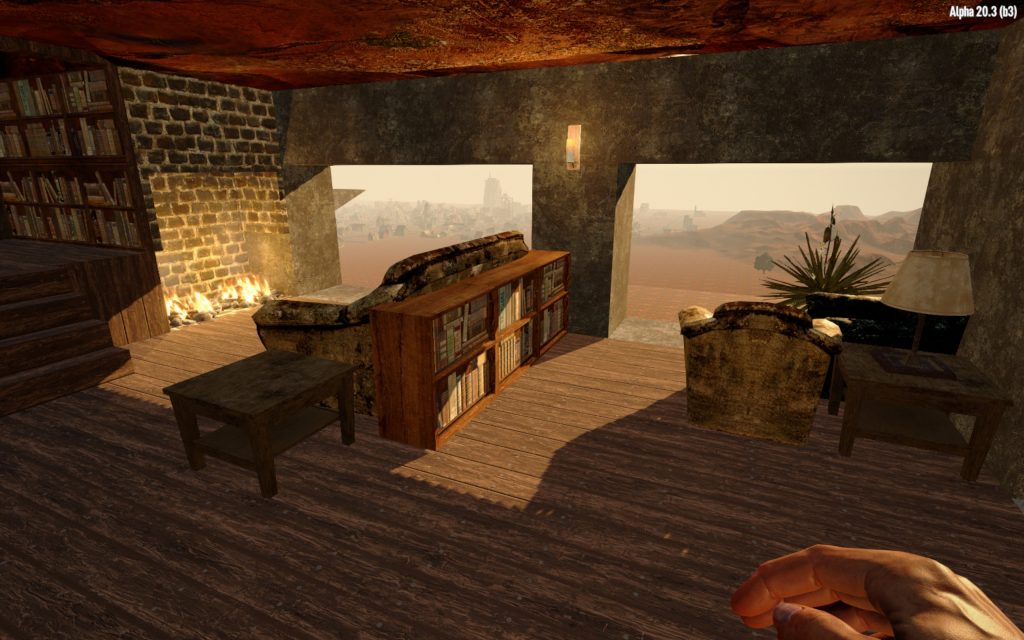
Along with the workshop and kitchen, I also made a living area. Not inspired by LOTR (though it might be fun to try a “hobbit hole” sometime), just a nice place to live, complete with bed, couch by the fire, and reading nook.
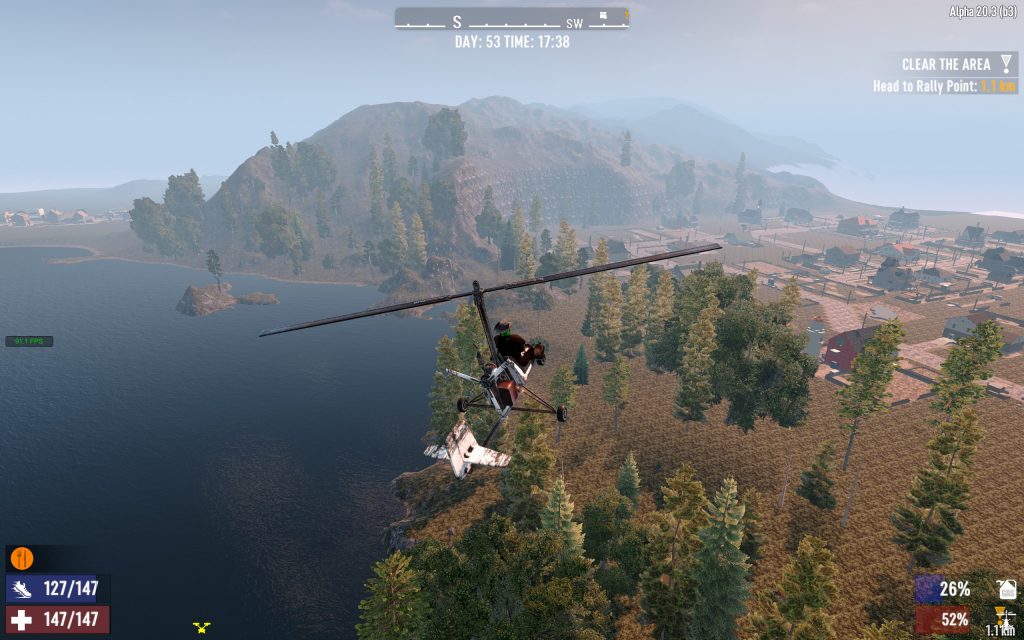
I also added a spiral staircase from the residential area to the top of the mesa, where I placed a generator and solar panels. I also built a landing pad for my gyrocopter and wired it up with lights to turn on at night.


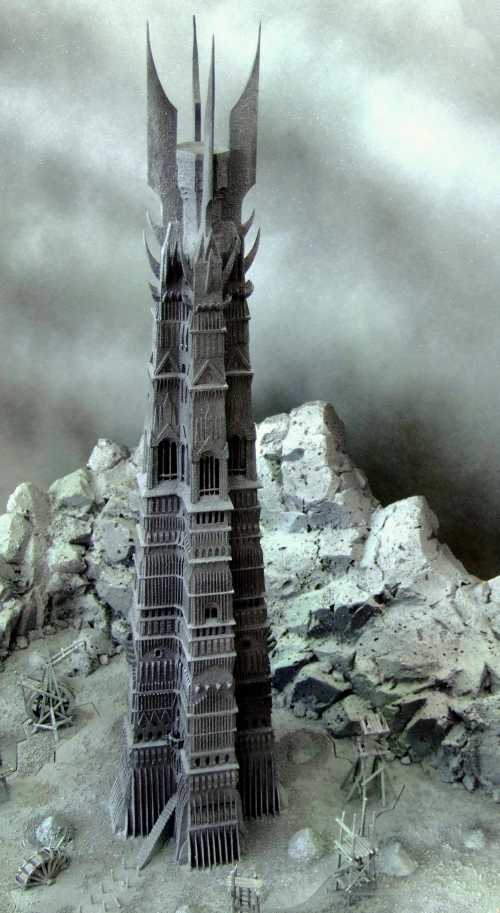
Once I had the residential area finished, I went back outside. I decided that I wanted to build a tower at the top of the switchback stairs that was (a) reminiscent of Orthanc, Saruman’s tower at Isengard in LOTR, and (b) also an effective horde base. As a reminder, here is what Orthanc looks like:
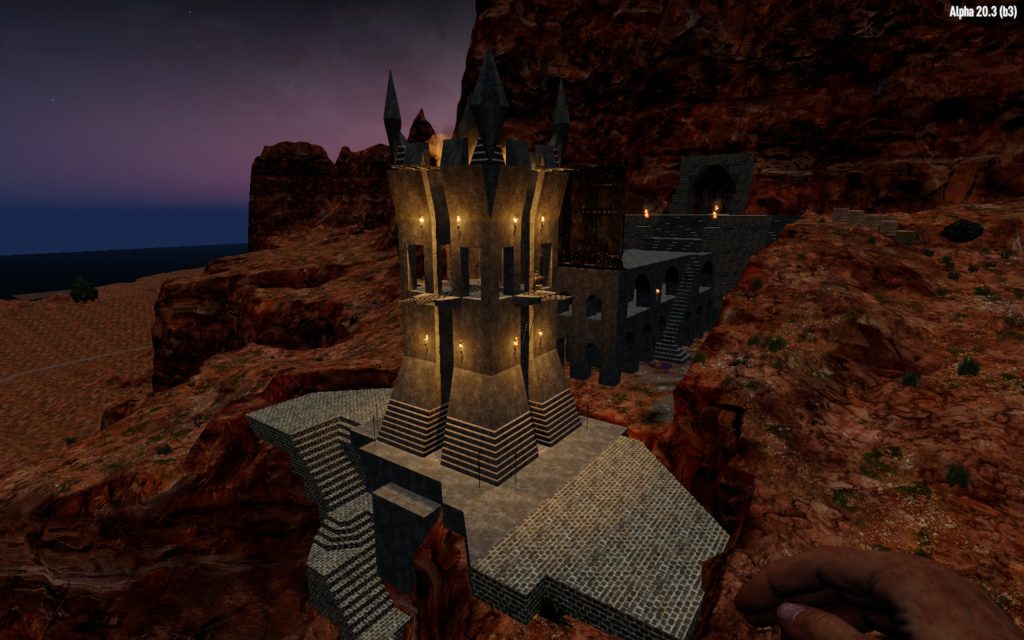
And here’s what I came up with. A little stubbier than Orthanc, but it gets the right “feel”:

At this point, the base had all of the LOTR “landmarks” I wanted. I had originally thought about doing a Helm’s deep fortress, but ended up not trying to do that too. This was large enough! So my work on the base shifted to trying to improve it on horde nights. I found that the tower worked quite well, but if I camped out in the Khazad Dum room, the zombies didn’t follow the existing paths and instead tunneled through the rock to try to get to me. Their favorite paths were to tunnel just above the main entrance tunnel for some reason, or to try to break into the Moria hall. I also had screamer zombies (zombies that appear when you have been doing too much stuff in an area, such as crafting or digging, and which summon mini-hordes of other zombies) spawning around my workshop or finding their ways in to the Moria hall. So I started trying to work with the zombies, digging formalized tunnels where they had been trying to get in and feeding them toward turrets, or toward the chokepoint.
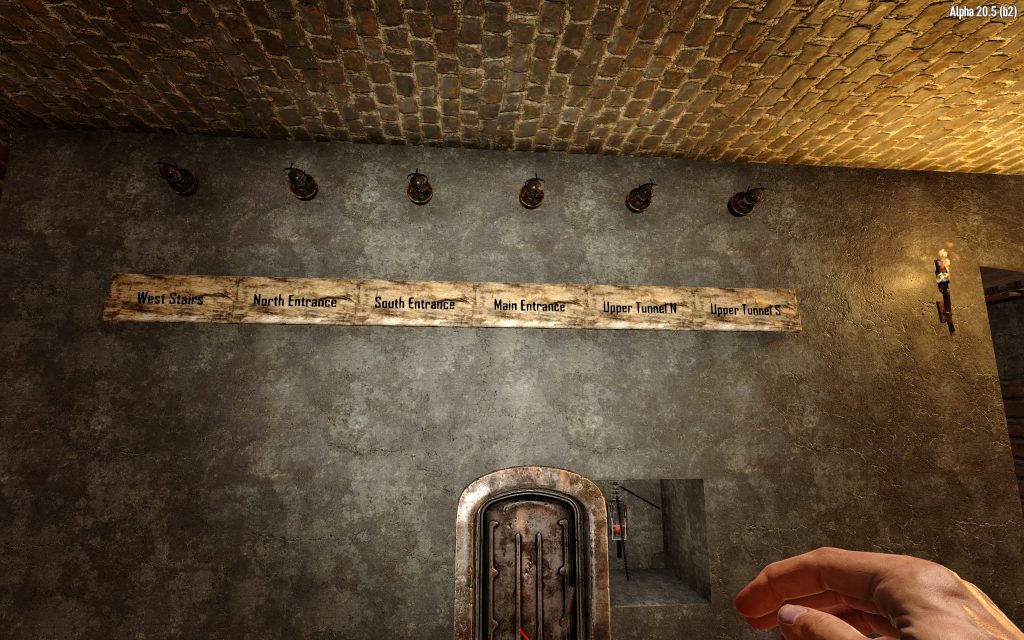
I found that one downside of the many entrances to the base was that if I was sitting on the bridge of Khazad Dum, a lot of the zombies got killed by the turrets at the different entrances before they could reach me. So, to at least get some idea of what was going on, I rigged motion sensors at each entrance to a set of lights in the Khazad Dum room, so that the lights would tell me where the zombies were coming in. Turns out a lot of the zombies were trying to enter through the south end of the Moria hall, and through the tunnels over the main entrance.
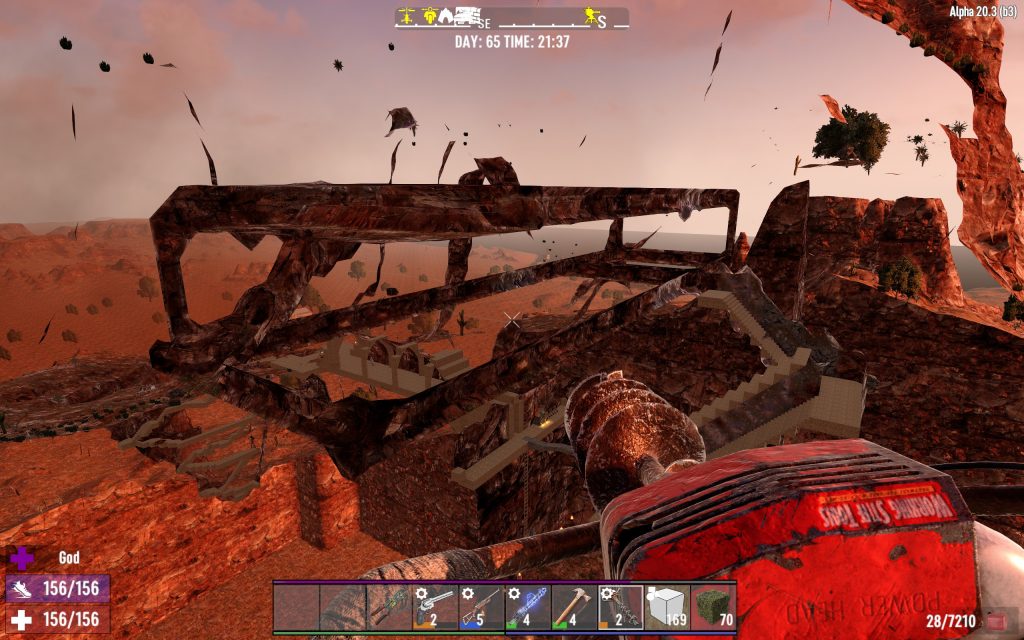
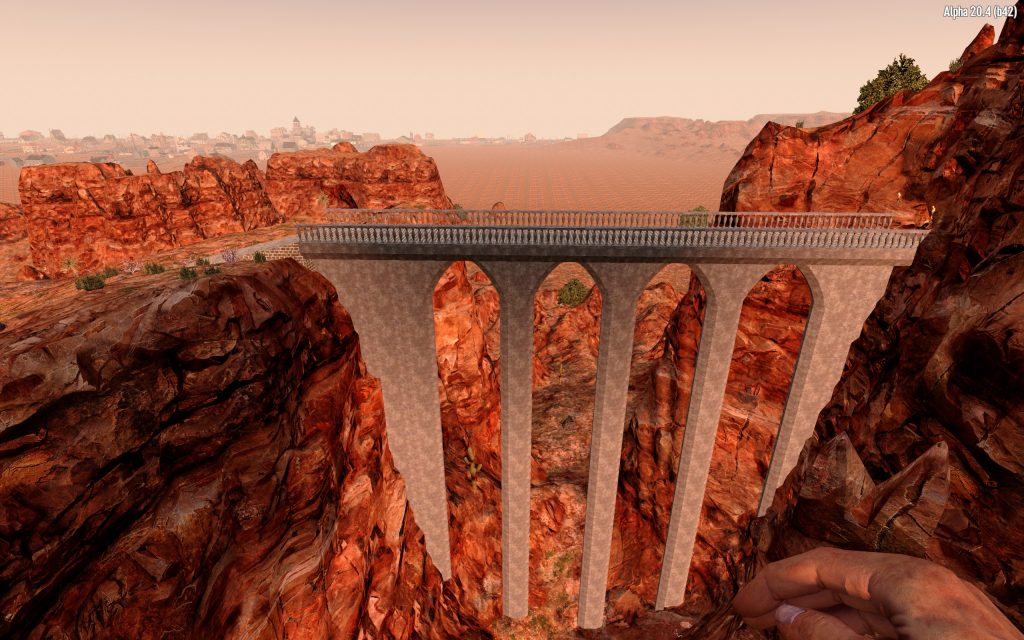
Finally, for no good reason other than that in LOTR the big hall with pillars is supposed to be part of a road, i.e. it is supposed to actually lead somewhere, I extended the tunnel off one end of the big Moria hall so that it came out the distant side of the mesa, and built a big arched bridge spanning the canyon there.
So there you have it! A super-detailed walkthrough of this super-huge base that I built. I’ll finish with a few parting shots showing all the crazy tunnels involved in the base, and then a video I recorded during a horde night so you can see the base in action.

Update: I have managed to export the base as a “prefab” that can be loaded into other people’s games so that it appears in randomly generated worlds. It doesn’t work perfectly – wiring doesn’t transfer, and I had to chop off the mesa unnaturally – but the main parts of the base are there. Check it out: https://www.nexusmods.com/7daystodie/mods/2306